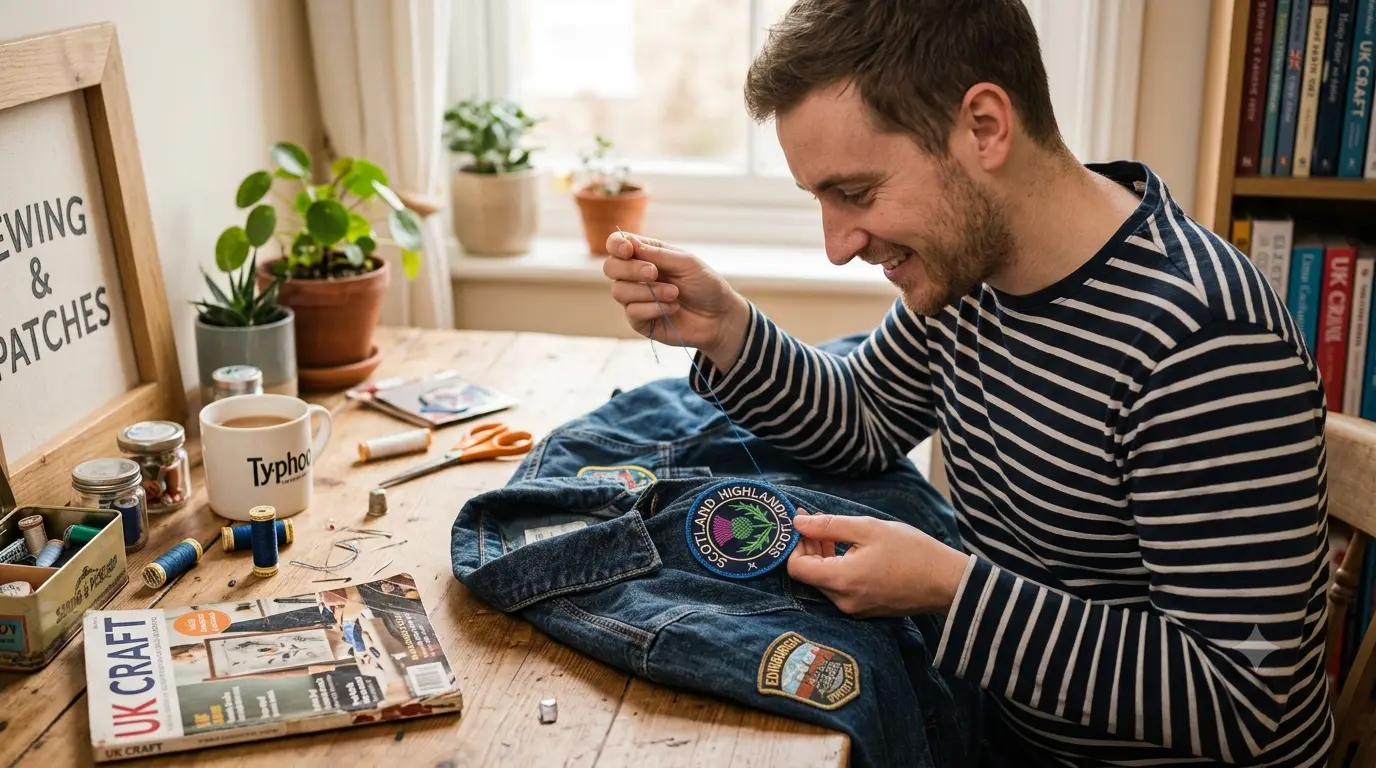
How to Put a Patch on a Jacket Perfectly
Placement, ironing, and stitching that holds. Nothing else.
Quick Answer
Pin the patch in place. Put the jacket on and check it in a mirror before doing anything permanent. Iron it on at maximum heat with no steam for 30 to 45 seconds using a press cloth, then press from the back. Finish by sewing around the full border with a running stitch and tying off on the inside.
The Short Version
What You Need
- Needle
- Thread
- Scissors
- Thimble
- Household iron
- Press cloth
- Ironing board
- Tape measure
- Pins
Step 1
Pin the patch onto the jacket in your chosen spot.
Step 2
Put the jacket on and check the placement in a mirror. Adjust if needed.
Step 3
Set the iron to maximum heat. Turn the steam off completely.
Step 4
Lay the jacket flat on the ironing board, right side facing up.
Step 5
Cover the patch area with a press cloth and warm the fabric for 15 seconds.
Step 6
Remove the press cloth and position the patch exactly where you want it.
Step 7
Cover with the press cloth again and press straight down for 30 to 45 seconds. No sliding.
Step 8
For a large patch, press section by section until the whole area is covered.
Step 9
Flip the jacket over and press the back of the patch area for another 30 to 45 seconds.
Step 10
Thread the needle and tie a knot at the end.
Step 11
Starting from inside the jacket, push the needle up through the fabric and out through the patch edge.
Step 12
Stitch all the way round the border, keeping each stitch about 3 to 5mm apart.
Step 13
Tie a secure double knot on the inside and trim the thread.
The Full Guide
Check the Jacket Fabric First
Iron-on application works well on cotton denim, canvas, cotton twill, and cotton-polyester blends. It does not work on leather, nylon, waxed cotton, or waterproof-coated jackets. If your jacket falls into that second group, skip the ironing steps and go straight to sewing.
Get the Placement Right Before You Touch the Iron
Pin the patch where you think it should go. Then put the jacket on and look at it properly in a mirror before committing to anything.
A patch that looks correctly placed when the jacket is lying flat on a table can look entirely different once the jacket is on and the fabric is curving naturally with the body. This is the check that stops you fixing a patch permanently in the wrong spot.
If the patch needs to sit dead centre on the back of the jacket, measure across from seam to seam to find the true midpoint. Mark it lightly with a fabric pen or a small piece of tape. Measure down from the collar as well if vertical position matters.
Once you are happy, remove the pin and take the jacket off.
Ironing the Patch On
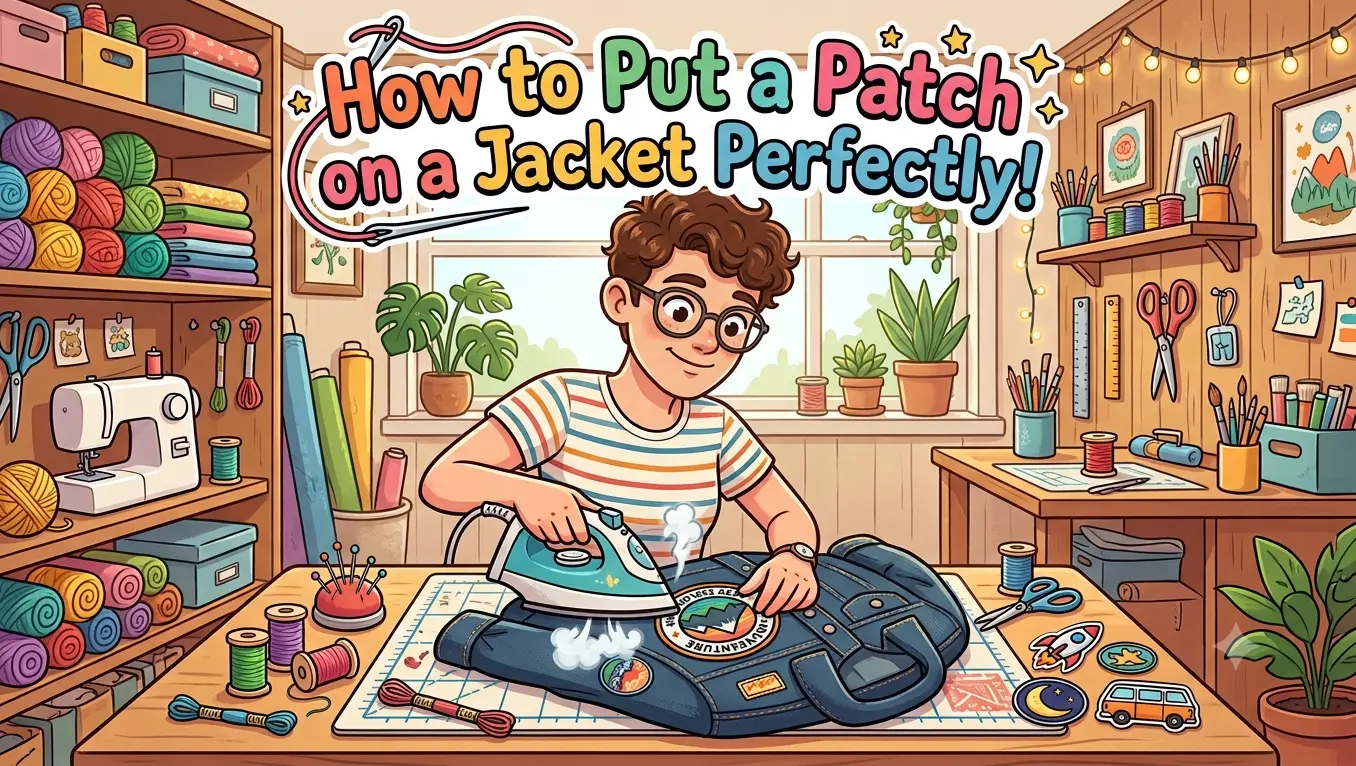
Set your iron to its highest heat setting and switch the steam off completely. Allow two to three minutes for the iron to reach full temperature.
Lay the jacket flat on the ironing board with the outside facing up, and smooth out any creases in the area where the patch is going.
Place a press cloth over that area and press for 15 to 20 seconds to warm the fabric. This pre-warming step helps the adhesive activate more evenly once the patch goes on.
Remove the press cloth and position the patch exactly where you decided earlier, adhesive side down, design facing up. Cover it again with the press cloth.
Press the hot iron straight down onto the patch with firm pressure for 30 to 45 seconds. Do not slide the iron across the fabric, as this can shift the patch and smear the adhesive underneath.
For a patch larger than your iron plate, press it in sections, moving across the surface until the whole area has had full contact with the heat.
Flip the jacket inside out and press the same area from the back for another 30 to 45 seconds. This reverse press drives the adhesive further into the fabric and makes a real difference to how well the patch survives regular washing.
Let everything cool for a couple of minutes, then gently press around the edges with a fingertip to check the bond is solid. Press again on any section that still feels loose.
Sewing the Patch On Properly
Sewing the border after ironing is what separates a patch that lasts a few months from one that lasts for years. For any jacket you actually wear, this step is worth doing.
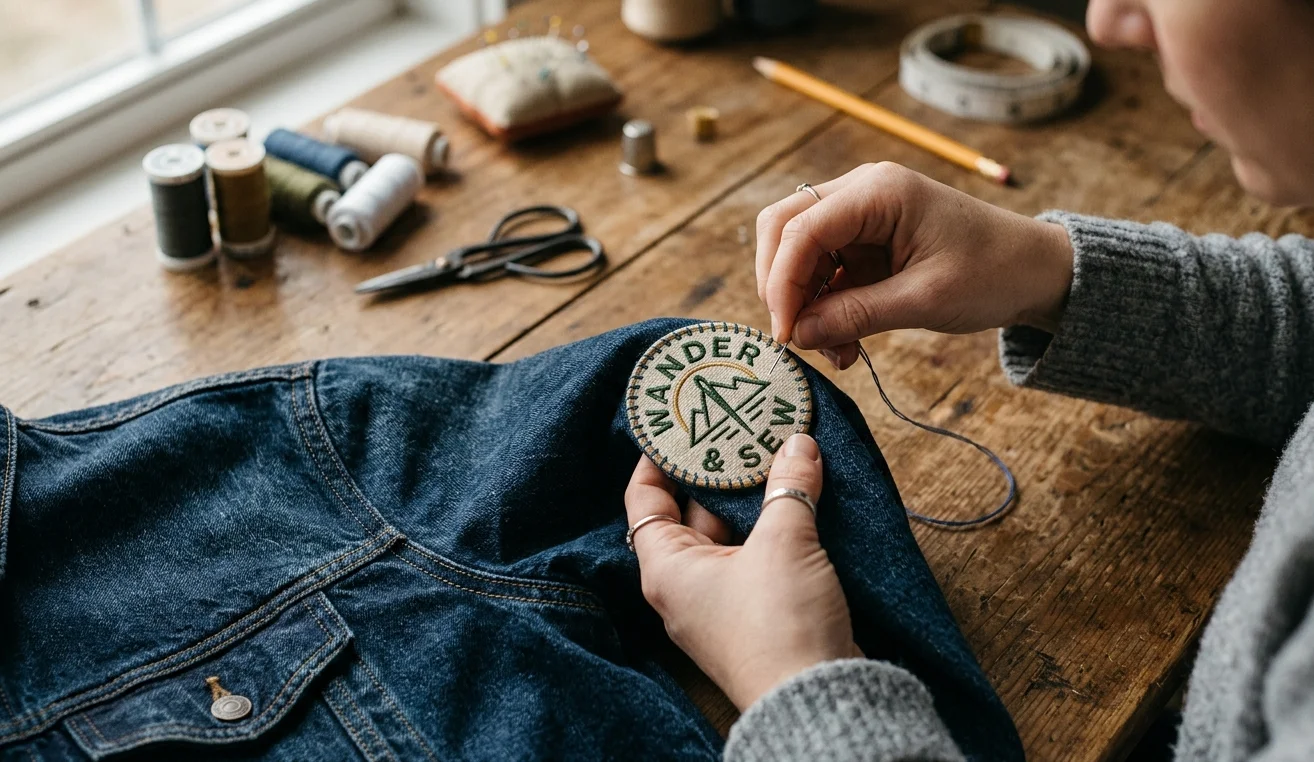
Cut around 18 to 20 inches of thread, fold it through the eye of the needle to double it for extra strength, and tie a knot at the loose end.
Start from the inside of the jacket so the knot is hidden once finished. Push the needle from the inside through the fabric and out through the very edge of the patch. Pull the thread through until the knot sits snug against the inside lining.
Keep the needle entering and exiting roughly 3 to 5mm from the patch edge as you work all the way round.
Each stitch follows the same motion. Push the needle back down through the patch edge and through the jacket fabric. Pull the thread through to the inside. Bring the needle back up from inside through the fabric and out through the patch edge again. Pull firmly after each stitch.
Even spacing is what makes the finished stitching look deliberate rather than rushed. Use a thimble if you have one. Denim and canvas jackets are far more resistant to a needle than shirt fabric, and your thumb will thank you by the last few stitches.
When you arrive back at your starting point, bring the thread through to the inside and tie it off with a firm double knot. Trim the excess thread close to the knot.
Leather Jackets Need Sewing Only
Never use an iron on a leather jacket. Heat damages the surface permanently.
Use a leather needle instead of a standard sharp, and run a small amount of beeswax along the thread before you start, which helps it slide through the leather without snagging. Heavy duty thread holds better on thicker leather. The stitching method is identical to the denim and canvas method above.
Waxed Cotton and Waterproof Jackets
For waxed cotton jackets, common to UK outdoor and country brands, treat them the same as leather. No ironing. Sew on only, since heat strips the wax finish and leaves permanent marks.
For nylon shells and waterproof jackets, sewing is again the only suitable method. Pin the patch, check the placement on the body, and stitch around the full border without applying any heat at all.
Silicone and Handmade Patches
If you order custom silicone patches, sew them on rather than ironing. Silicone is not compatible with heat-seal application and needs the same running stitch method used for fabric patches.
Handmade patches from a small handmade patches company often arrive without any adhesive backing. Skip the ironing steps and go straight to pinning and sewing.
Looking for Embroidered Patches Near You
Searching for embroidered patches near me is usually the first step most people take. Local embroiderers can produce patches, but the range of patch types, the consistency between pieces, and the willingness to send a physical sample before a full production run varies a great deal from one supplier to the next.
For custom embroidered patches made with a sample provided before production, and the option to order woven patches, custom silicone patches, or felt patches depending on your design, ordering from a dedicated patch maker like StitchKrafts USA tends to give more consistent results than a general local embroidery shop.
Frequently Asked Questions
Can you put a patch on a jacket without sewing?
Yes, using an iron-on patch on cotton or denim. Press at maximum heat with no steam for 30 to 45 seconds using a press cloth, then press from the back. This holds well for jackets worn occasionally, but sewing the edge afterwards gives a much longer lasting result for daily wear.
How do you get a patch perfectly centred on the back of a jacket?
Measure across the back from seam to seam to find the midpoint, then mark it lightly. Measure down from the collar too if you need a precise vertical position. Use both measurements to line the patch up before ironing or sewing.
Can you iron a patch onto a leather jacket?
No. Heat damages leather permanently. Sew the patch on instead using a leather needle and heavy duty thread, with a little beeswax run along the thread to help it pass through cleanly.
Can you put a patch on a waxed cotton jacket?
Sewing only. Ironing strips the wax finish and leaves permanent marks. Pin the patch in place, check it on the body, and stitch around the border.
Why does my iron-on patch keep lifting after washing?
Usually because the press time was too short, the steam was left on, or the reverse press from the back was skipped. Sewing the border after ironing stops this happening regardless of how often the jacket is washed.
What size needle works best for sewing patches onto a denim jacket?
A sharps style needle in size 2, 3, or 4. These are sturdy enough to push through thick denim cleanly without bending.