How Do You Design a Custom Patch?
Short answer: To design a good custom patch, first decide what it will be used for, then pick the right patch type, like embroidered, PVC, or woven. Keep the shape simple, use bold colors, and choose fonts that are easy to read. A clean, simple design almost always looks better than a busy one.
Why Good Patch Design Matters
A patch is small, so every detail matters. If a design has too much going on, it can look messy once it is stitched or printed. A good patch should be easy to read from far away, should match what it is used for, and should still look sharp after months of wear and washing.
The biggest mistake people make is trying to add too many details. Simple designs almost always turn out better.
Step 1: Decide What the Patch Is For
Before picking colors or shapes, think about where the patch will be used. This changes everything about the design.
Team and club patches usually use bold mascots and strong outlines.
Business patches usually use a simple logo and just one or two brand colors.
Tactical or uniform patches usually use very few colors and a clear, simple symbol.
Fashion patches usually use more creative art, textures, or hand drawn designs.
Step 2: Pick the Right Patch Type Early
A lot of people design first and pick the patch type later. This causes problems, because different patch types work better with different kinds of designs.
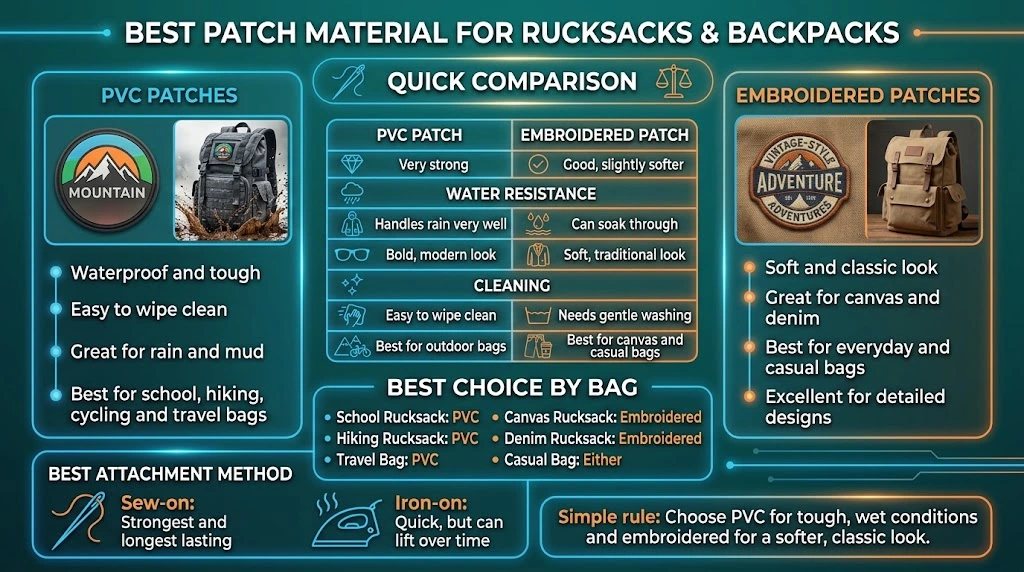
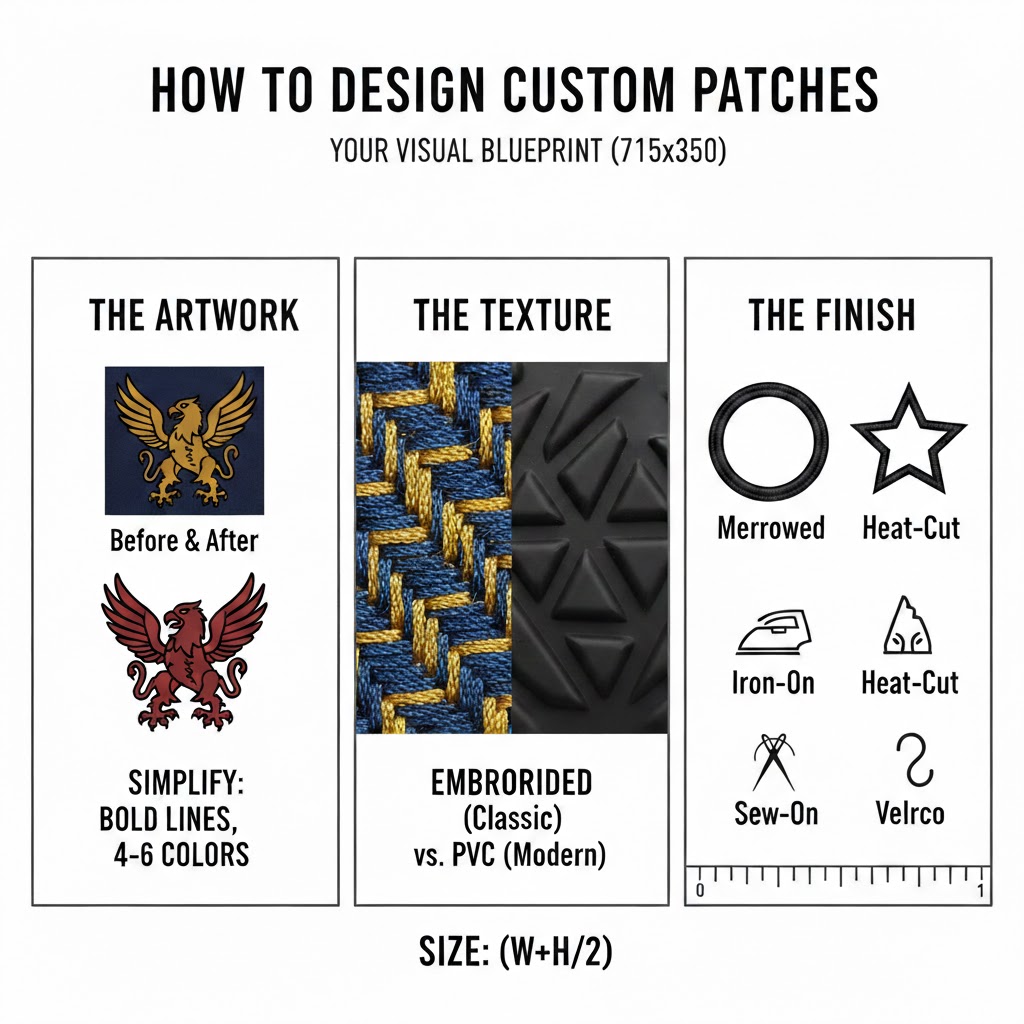
Patch Types Compared
| Patch TypeBest ForDetail Level | ||
| Embroidered | Uniforms, clubs, bold logos | Good for thick lines |
| Woven | Small text, fine detail | Very good for tiny details |
| PVC | Tactical, outdoor, tough use | Good, holds color well |
| Printed | Photos, gradients, many colors | Best for full color art |
| Chenille | Varsity jackets, fashion | Soft, raised, simple designs |
Picking the right type first saves you from redoing the design later.
Step 3: Keep the Shape and Border Simple
The most common patch shapes are circles, shields, and rectangles. Simple shapes usually stitch better and cost less.
A clean border, like a simple stitched edge, helps the patch look sharp and stops the edges from fraying. Fancy, complicated edges might look nice on a screen, but they often lose detail once the patch is actually made.
Step 4: Pick Colors That Work Well Together
Color mistakes are one of the most common design problems. Here are simple rules to follow.
Use colors that stand out clearly from each other.
Try to use no more than three to six colors total.
Avoid tiny color changes packed into a small space.
If the patch will go on a shirt, pick colors that either match the fabric or stand out clearly against it.
Step 5: Choose Fonts That Are Easy to Read
Some fonts look nice on a computer screen but turn messy once stitched. Thin or fancy fonts are usually hard to read once they are made into a real patch.
Use bold, simple fonts.
Avoid very thin lettering.
Leave a little more space between letters.
Make sure someone standing a few feet away can read it easily.
Design Ideas Based on What You Need
For tactical or army style patches: unit numbers, simple symbols, and colors like black, olive, or tan.
For shirts and clothing: small logo patches, simple line art, and clean color blocks.
For small businesses: staff uniform logos, giveaway patches, and simple designs to keep costs low.
For fashion patches: hand drawn art, vintage styles, nature themes, and layered textures.
Where Should You Place Your Patch?
The best spot for your patch depends on the design.
Left chest area works well for logos or names.
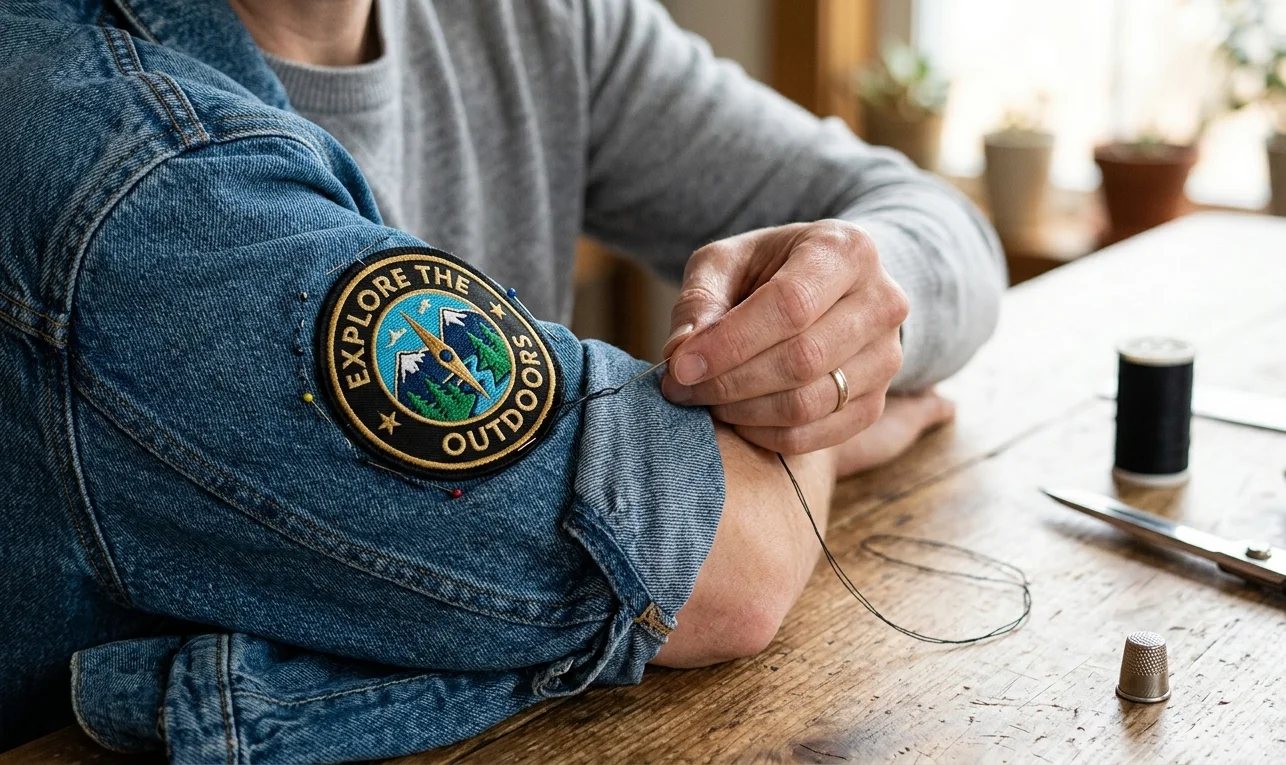
Sleeves and shoulders work well for club or flag patches.
Back panels work well for bigger, more detailed designs.
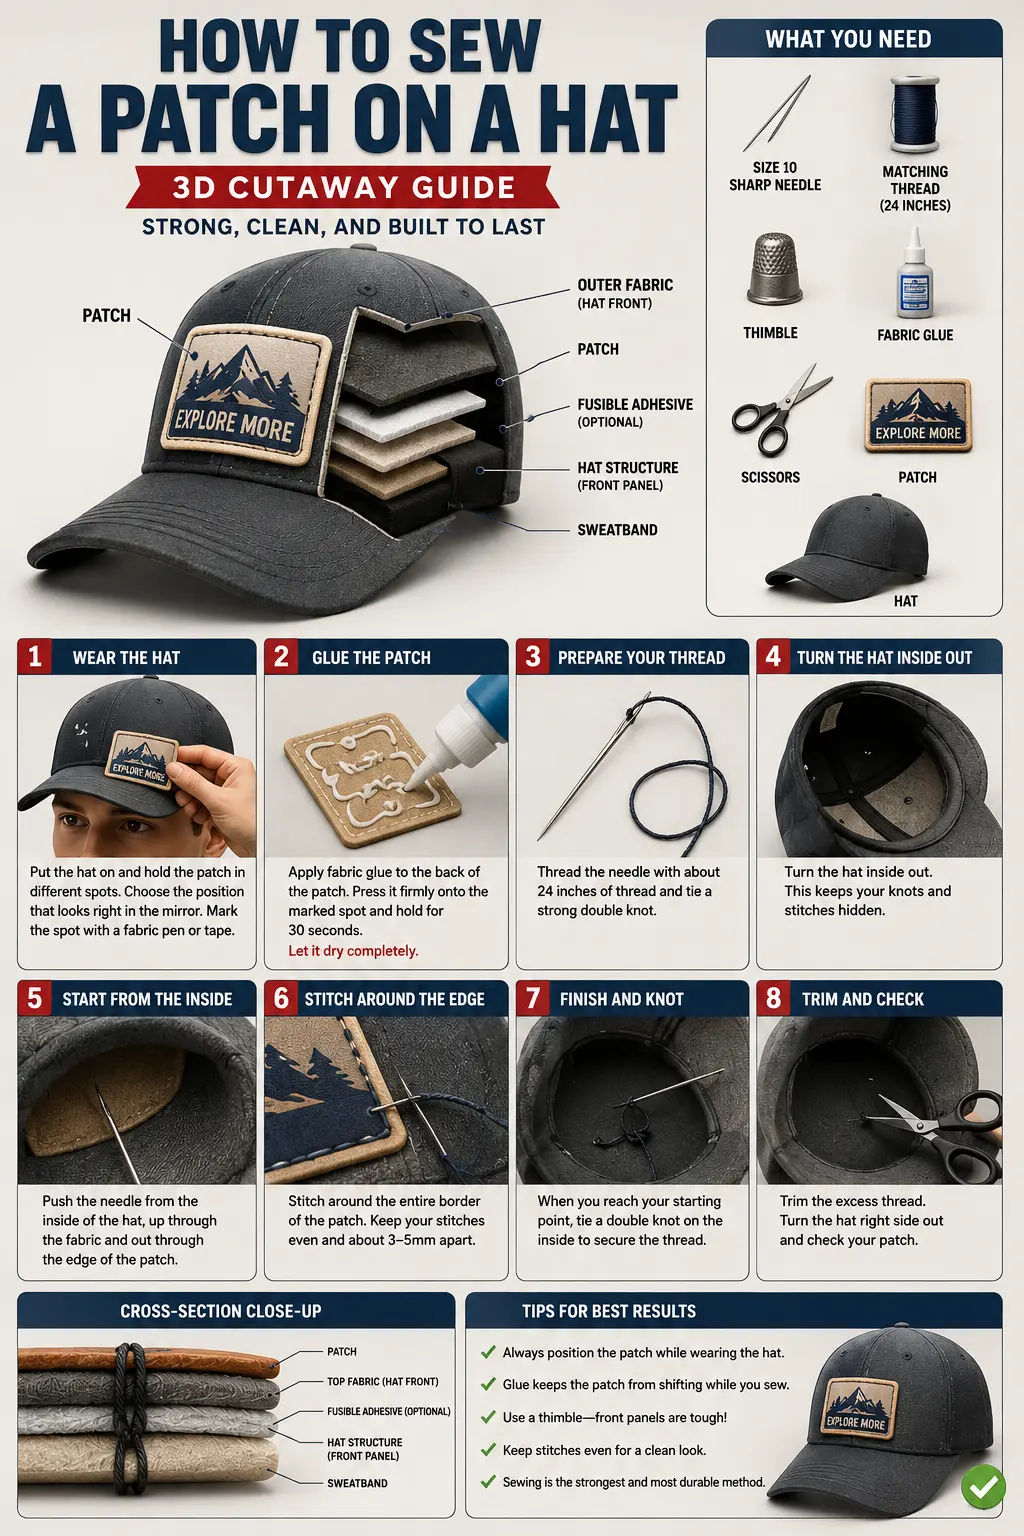
Caps and hats need very simple designs, since there is not much space.
What Patch Styles Are Popular Right Now?
A few trends are showing up a lot lately.
Simple designs with bold outlines.
Retro and vintage looking patches.
Eco friendly materials and softer colors.
3D style embroidery.
Bigger, oversized patches for streetwear and fashion.
Should You Design It Yourself or Get Help?
Designing it yourself is fine for a personal project or a simple idea. Getting help from a professional is a good idea if you want clean, ready to produce artwork, accurate colors, and a design that stays consistent if you reorder later.
Many people start with a simple idea and let a professional turn it into a finished design. This saves time and avoids mistakes later.
What Do You Need Before Ordering a Patch?
You do not need a perfect design to get started. Just have these ready.
A simple idea or picture to show what you want.
The patch type you prefer.
A rough size in mind.
How many patches you need.
Where the patch will be placed.
Frequently Asked Questions
What is the easiest way to design a custom patch?
Keep it simple. Use bold colors, easy to read fonts, and pick the right patch type for how it will be used.
Which patch type is the most popular?
Embroidered, woven, PVC, printed, and chenille are the most common types people choose.
How do I know which patch type to pick?
Embroidered works well for bold designs, woven is great for small details, PVC is best for tough outdoor use, and printed works well for full color art.
Are custom patches a good option for small businesses?
Yes. They are affordable and work well for uniforms, branding, and giveaways.
Do I need a finished design to place an order?
No. A simple idea or rough sketch is enough to get started.
Want Help Designing Your Custom Patch?
StitchKrafts in Australia can help turn your idea into a clean, professional patch design, no matter the style you are going for. From tough PVC patches to soft embroidered ones, we will help you pick the right type and bring your design to life.