Sewing Patches onto Rugby Kit Without Damaging the Fabric
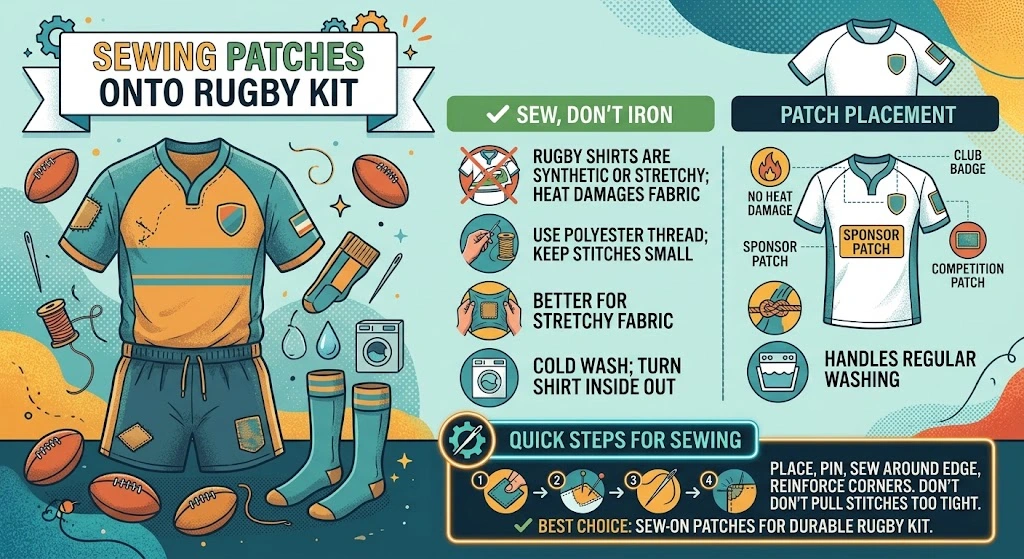
Quick answer: Sew patches onto rugby kit rather than ironing them on. Rugby shirts are usually made from polyester or a stretchy synthetic blend, and these fabrics do not cope well with heat. Use a strong polyester thread, keep your stitches small, and pick a spot that will not stretch too much during a match.
Rugby kit is a bit different to a normal cotton shirt, so let's go through exactly what makes it tricky, then walk through how to get a patch on properly.
Why Ironing Is Risky on Rugby Kit
Most rugby shirts are not cotton. They are made from polyester or another synthetic performance fabric, chosen because it stretches, wicks sweat, and holds up to constant physical contact.
The problem is that synthetic fabric reacts badly to direct heat. An iron can cause it to shrink, pucker, or even melt slightly in that one spot, which ruins the shirt rather than just the patch. This is the same core issue you run into with iron-on patches on backpacks, where nylon and other synthetics simply were not designed to handle a hot iron pressed against them.
Sewing avoids this problem completely, since there is no heat involved at any point. If you are still deciding on a patch type for the team, an embroidered patch is designed from the start to be sewn rather than ironed, which sidesteps this whole issue.
Getting the Basics Right Before You Start
A few small choices make a real difference on rugby kit specifically.
Use Polyester Thread
Use polyester thread rather than cotton thread. Cotton thread can weaken and snap when it is stretched repeatedly, which is exactly what happens to a rugby shirt during a match. Polyester thread has more give and holds up far better under that kind of movement.
Keep Your Stitches Small
Keep your stitches small and close together, since a shirt that stretches during play needs stitching that will not pull loose the first time someone reaches for a pass.
Avoid Sewing Across a Seam
Avoid sewing directly across a seam if you can help it. Seams already take a lot of strain, and adding a patch right on top of one just doubles the stress in that spot.
Where Should a Club Badge Actually Go?
This is where UK rugby kit has its own conventions, and getting it wrong can look a bit off, even if the sewing itself is perfect.
The club badge almost always sits on the left chest, roughly in line with the heart. This has been the standard position for as long as most people can remember, and it is where most manufacturers already position printed or woven badges on new kit.
Sleeve patches are more commonly used for smaller details, things like a sponsor logo, a memorial patch, or a competition badge for a specific tournament. These tend to sit on the upper arm, just below the shoulder seam. For more general guidance on getting a sleeve patch straight and even, our guide on sewing a patch on a sleeve covers the technique in more detail.
What About Sponsor Patches?
Sponsor patches often come with specific placement rules, particularly for club or league level kit rather than casual social team shirts. Many leagues require sponsor branding to sit within a defined size and position, usually on the chest or sleeve, so it does not clash with league branding or the club crest itself.
If your team plays under a specific league or union, it is worth checking their kit regulations before sewing anything on permanently, since some competitions are stricter about this than people expect.
Sewing the Patch On Properly
Once you know where the patch is going, the actual sewing process is fairly simple.
Step 1: Position the Patch
Lay the shirt flat and pin the patch in place, checking it sits straight before you commit to any stitching.
Step 2: Prepare the Thread
Thread your needle with polyester thread, doubled for extra strength, and knot the end securely.
Step 3: Sew Around the Edge
Work your way around the full edge of the patch using small, even stitches, roughly three to five millimetres apart. Since rugby fabric stretches, try not to pull your thread too tight as you go, since overly tight stitching can pucker the fabric once it relaxes back into shape.
Step 4: Reinforce the Corners
Once you have gone all the way around, add a couple of extra stitches at each corner for reinforcement, since corners take the most pulling during a match.
Washing Rugby Kit With a Sewn Patch
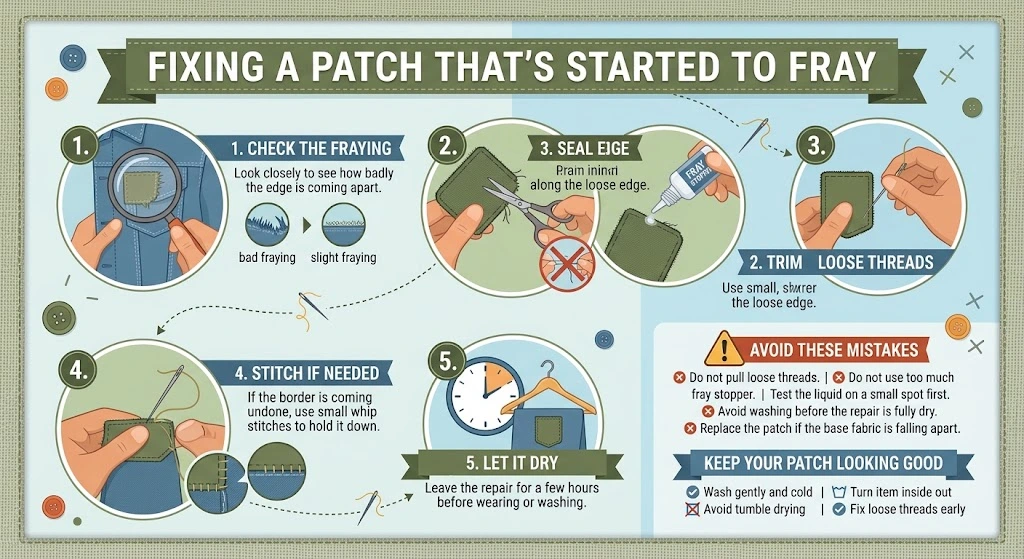
Rugby kit gets washed hard and often, sometimes after every single training session, so the patch needs to survive a lot more washing than an average jacket or bag would.
Wash on a cold or cool setting rather than hot, since heat is still the enemy here, even after the patch is fully sewn on. Turn the shirt inside out before washing, which protects both the patch and the print on the front of the shirt from rubbing against other kit in the machine.
Avoid the tumble dryer if you can. Rugby shirts are usually quick drying anyway, and skipping the dryer reduces wear on both the fabric and the stitching around the patch. If a patch starts looking a little loose after several washes, a quick check and a few extra stitches will usually sort it out before it becomes a bigger problem.
Getting a Patch Made for the Whole Team
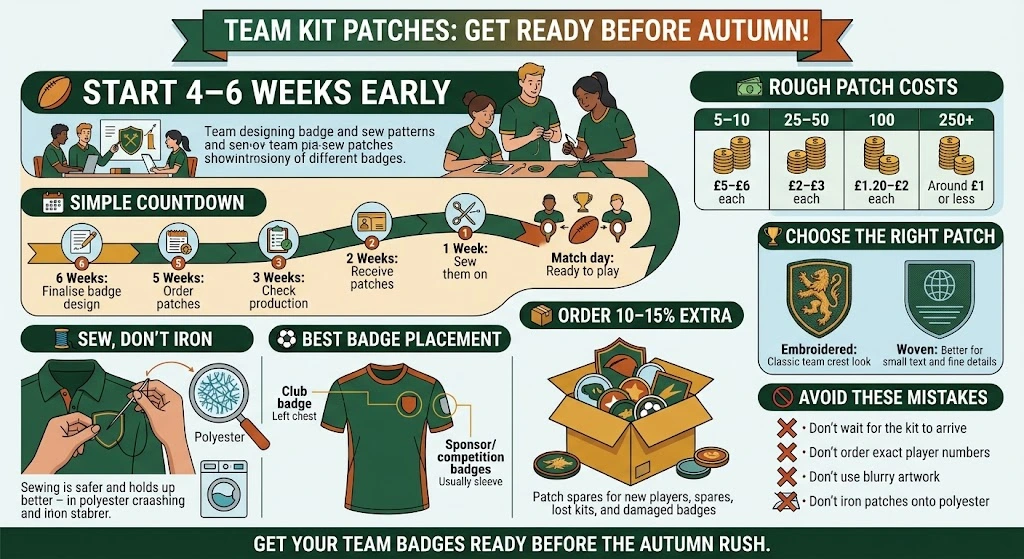
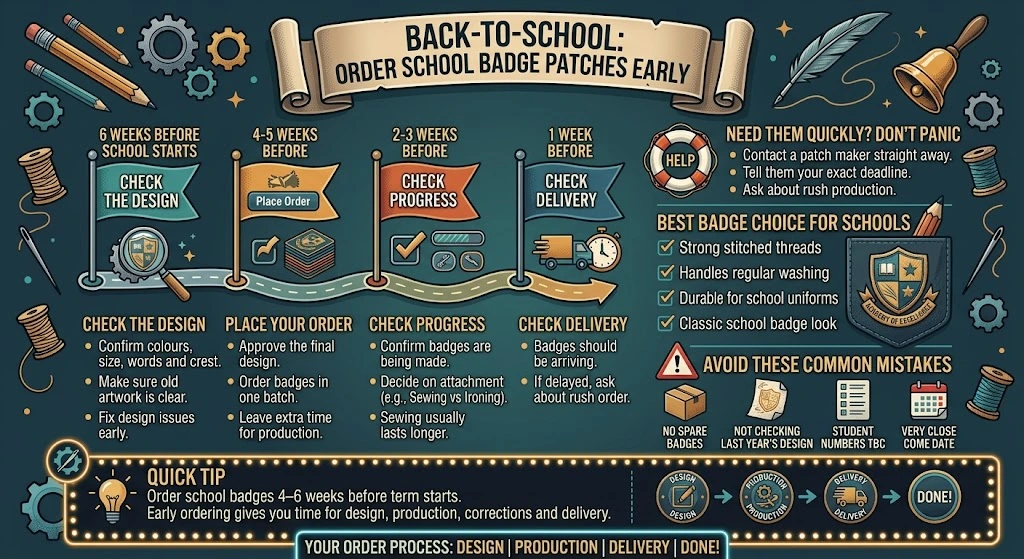
If you are ordering patches for a full squad rather than just one shirt, it helps to sort the design out properly from the start rather than adjusting it after the fact. Browsing the full range of custom patches options before you order means you can pick a material and size suited to how hard the kit will actually be worn and washed.
Frequently Asked Questions
Can I Iron a Patch Onto a Rugby Shirt If I Am Careful With the Heat?
It is risky. Even a lower heat setting can affect synthetic fabric, so sewing remains the safer and more reliable option for rugby kit specifically.
Where Exactly Should a Club Badge Sit on a Rugby Shirt?
The left chest is the standard position, roughly level with the heart, matching where most manufacturers already place printed badges.
Do Sponsor Patches Have to Follow Specific Size or Placement Rules?
Often yes, particularly for club or league level kit. It is worth checking your specific league's regulations before sewing anything on permanently.
How Often Can a Sewn Patch Be Washed Before It Needs Repairing?
A well sewn patch using polyester thread can usually handle dozens of washes, though it is worth checking the stitching every so often since rugby kit gets washed more than most clothing.
Will Sewing a Patch Onto Stretchy Fabric Affect How the Shirt Fits?
Not if the stitching is done correctly. Keeping stitches small and not pulling the thread too tight during sewing avoids any puckering or tightness once the shirt is worn.
Get a Patch Made for Rugby Kit
Whether you are outfitting a club side in Manchester or personalising your own shirt in London, StitchKrafts UK can help you order a patch built to survive match day, training, and the wash that follows both. Already have club artwork ready? We can turn it into a patch made to your exact size and colour.