How to Wash Clothes With Iron-On Patches Without Ruining Them
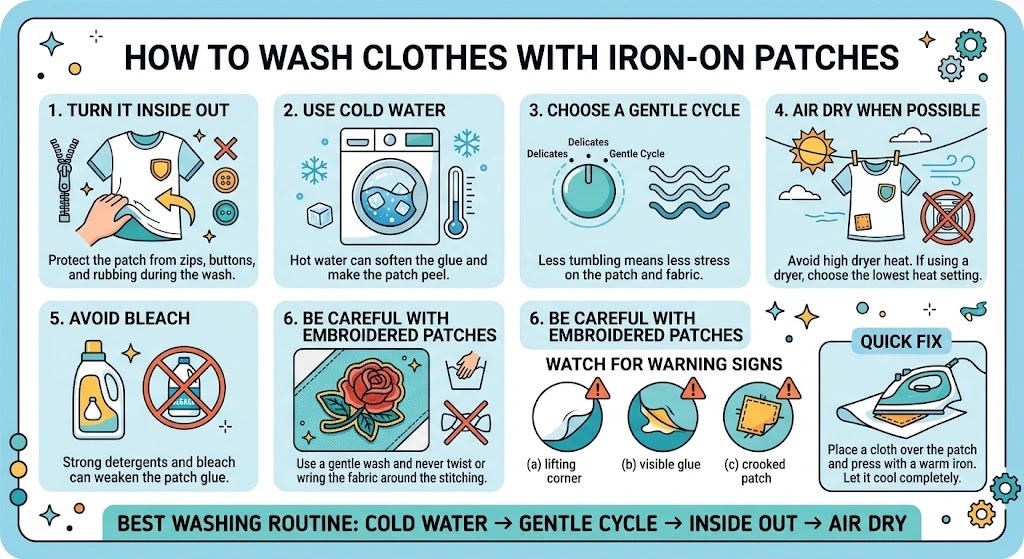
Quick answer: Cold water, gentle cycle, turn it inside out, and skip the dryer if you can. Heat is what ruins a patch. Not the washing itself.
Let's say your kid just got a patch ironed onto their footy jumper. Or maybe you picked up some custom patches for the club and had them applied to a set of jackets. Either way, wash day is coming, and you want that patch to still be there next week. Here's exactly how to make that happen.
Why Patches Actually Fall Off in the Wash
An iron-on patch is stuck down using a special glue. Heat is what makes that glue work in the first place, when you first iron it on.
The problem is, heat can undo that same glue later. Hot water softens it again. Once it's soft, water sneaks underneath, and the patch starts to lift at the edges. This is really the whole story behind most patches falling off.
This is why quality matters too. Durable iron on patches, the kind made with a proper backing and strong glue, hold up far better through regular washing than a cheap, thin one would.
Step 1: Turn It Inside Out Before You Wash It
This is the easiest step, and it makes a real difference. Turning the jumper or jacket inside out means the patch faces away from zips, buttons, and anything else it could rub against inside the machine.
Step 2: Always Wash in Cold Water
Skip the hot wash, even if the item is dirty or a bit smelly after the game.
Hot water softens the glue underneath the patch, which lets water get in and weakens the bond over time. Cold water keeps everything stable, and it also helps stop the fabric from shrinking, which can tug at the patch's edges too.
Step 3: Use a Gentle Cycle, Not the Normal One
A gentle or delicate cycle means less tumbling around in the machine. Less tumbling means less strain on the patch overall.
This matters even more if it's a custom patch someone spent real time designing, whether that's a club crest, a team logo, or something personalised just for one person. A gentle wash protects all that effort.
Step 4: Air Dry Instead of Using the Dryer
Here's the part a lot of people miss. The dryer is often worse for a patch than the wash itself. Dryers run hotter, and they stay hot for a lot longer than a wash cycle does.
Hanging the item out to dry is the safest option. If you really need the dryer, use the lowest heat setting and pull it out a little early, while it's still slightly damp.
Step 5: Keep Bleach and Strong Detergents Away From the Patch
Strong detergents and bleach can break down the glue faster than a mild detergent and plain water would. If there's a stain near the patch, treat just that spot by hand rather than soaking the whole garment in something strong.
What If It's an Embroidered Patch Instead?
Not every patch uses glue. Some, like club badges or embroidered crests, are stitched on with thread instead.
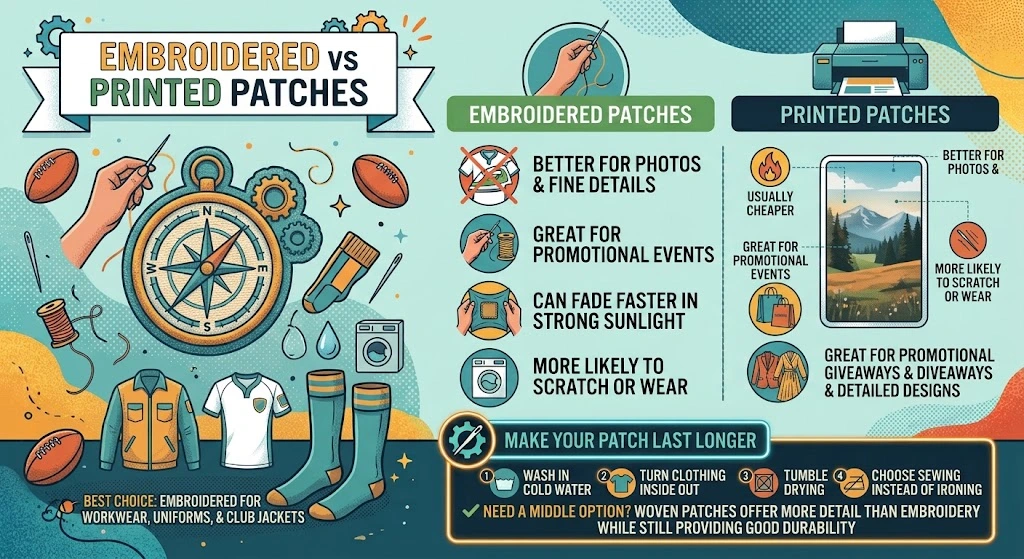
To clean embroidered patches properly, the goal shifts from protecting glue to protecting the stitching. A gentle hand wash or delicate machine cycle works well here too.
Try not to twist or wring the fabric near the patch, since that can loosen individual stitches over time. If a thread starts coming loose, snip it carefully rather than pulling, since pulling can unravel more of the design than you'd expect.
How to Tell a Patch Is About to Fall Off
Keep an eye out for small warning signs. A corner that looks slightly raised. A bit of glue peeking out at the edge. The patch sitting a little crooked after a wash.
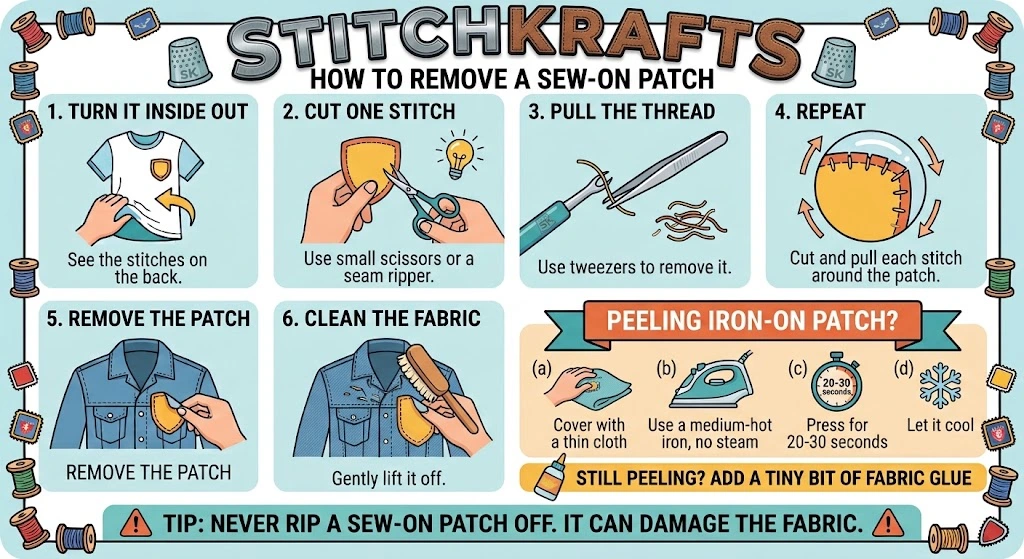
Catch it early, and it's an easy fix. Pop a cloth over the patch and press a warm iron on it again, just like the first time it went on. Let it cool completely before wearing or washing it again. Leave it too long, and it'll probably need resewing instead.
Washing Tips for Different Items
Jackets and jumpers usually cope well with a cold, gentle wash and air drying, since the fabric tends to be thicker and more forgiving.
Bags, like a footy kit bag with a club patch on it, are better off spot cleaned by hand rather than thrown in the machine, since tumbling is tougher on a patch attached to something stiff.
T-shirts and thinner fabric need the most care, since the material stretches more during washing, which puts extra strain on the patch's edges.
Frequently Asked Questions
Can I Iron a Patch Back on If It Starts Peeling?
Yes, in most cases. Place a cloth over it, press a warm iron on top for a little while, then let it cool fully before wearing or washing it again.
Is Hand Washing Safer Than Using a Machine?
Generally yes, especially for embroidered patches, though a cold, gentle machine cycle works fine for most iron-on patches too.
Do Custom Patches Need Extra Care Compared to Regular Ones?
Not really. What matters most is how well the patch was made, not where it came from.
How Many Washes Should a Good Patch Survive?
A well-made patch should comfortably survive dozens of washes, as long as it's washed cold and dried gently.
Can Fabric Glue Help Fix a Patch That's Starting to Lift?
Yes. A small amount around the edges adds extra hold, especially in spots that get a lot of movement.
Need Patches Built to Handle Regular Washing?
Whether you're in Sydney, Melbourne, or Brisbane, StitchKrafts Australia makes durable iron on patches built to survive real, everyday washing, footy training and all. Whether it's a set of custom patches for the whole club or something you want to personalise for yourself, we build every patch to last well past the first wash.