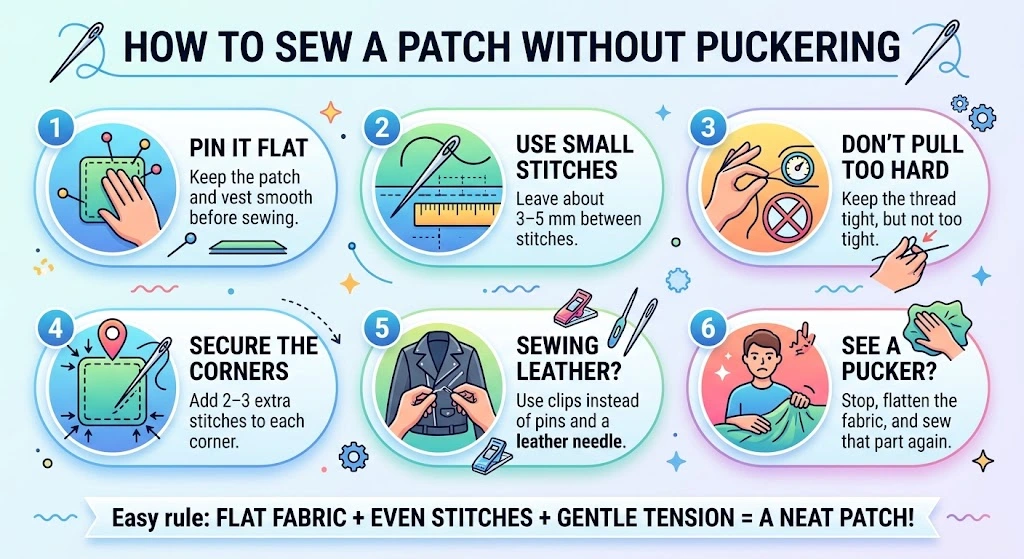
How to Sew a Patch on a Vest Without Puckering
Short answer: To avoid puckering, pin your patch flat, use small even stitches, and keep your tension consistent all the way round. Most puckering comes down to one of three things: bad pinning, uneven tension, or rushing on thick fabric. Fix those three and you're set.
Rather than walking through this as one long process, let's work through it as a series of quick questions. Answer each one honestly based on what you're working with, and you'll end up with exactly the right approach for your vest.
Question 1: Is Your Patch Actually Pinned, or Just Sitting There?
Be honest here, because this is where most puckering starts before you've even threaded a needle.
If it's just resting on the fabric, held by hand: stop and pin it properly first. Lay the vest flat on a table, not your lap. Pin all four corners, then a few extra points around the edge if the patch is larger. Step back and check it looks straight before you sew a single stitch.
If it's already pinned: good, move to the next question. Just double check the fabric underneath is lying flat too, not bunched up under the pins themselves.
Question 2: What's the Vest Made Of?
This changes your whole approach, so it's worth answering properly.
Denim or heavy cotton: you've got a bit of room to move. The fabric has slight give, so small tension mistakes are more forgiving. A standard strong needle and doubled thread will do the job fine.
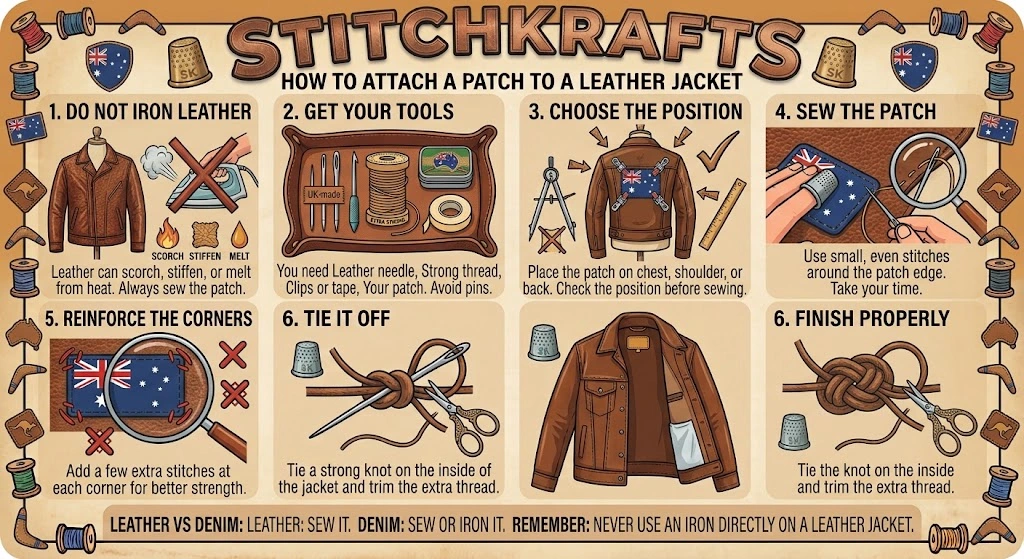
Leather: treat this differently. Leather has zero stretch, so every stitch needs to be even, or the puckering shows up immediately. Skip the pins altogether here, since they leave small holes that don't disappear. Use clips or a strip of tape instead. Grab a leather specific needle too, since a regular one can snag and drag the material.
Mixed materials, like a leather vest with a fabric back panel: treat each section according to its own material. Don't assume one technique works across both.
Question 3: Where Is the Patch Going?
Placement affects how much stress the stitching will actually deal with over time.
Back panel: this cops the most movement, whether you're wearing the vest on a bike or just going about your day. This is also where a lot of custom patches end up, and where footy club patches often get sewn on for supporters heading to the game. Because of the movement here, corners need reinforcing more than anywhere else.
Chest or front pocket area: still moves, but less dramatically. Standard technique works fine here.
Sleeve or shoulder: smaller area, tighter curve. Go extra slow here since the fabric bends more sharply, which makes uneven tension more obvious.
Question 4: Are You Sewing Small, Even Stitches?
This is the actual technique question, and it's where a lot of people go wrong without realising it.
If your stitches vary in size or spacing: slow down. Aim for roughly 3 to 5 millimetres between each one, and try to keep them consistent the whole way round rather than getting smaller or bigger as you go.
If your stitches are even but the patch is still puckering: the problem is probably tension, not spacing. Check whether some stitches are pulled tighter than others. Even one overly tight stitch can drag the fabric enough to create a visible ripple.
If you're not sure: stop every few centimetres and smooth the fabric flat with your hand. If it's lying flat, keep going. If you spot bunching, undo the last stitch or two and redo that section with lighter tension before moving forward.
Question 5: Have You Reinforced the Corners?
If you've finished sewing around the edge and haven't touched the corners yet: go back and add two or three extra stitches at each one. Corners take more strain than any other part of the patch, especially on a vest that moves a lot.
If you've already reinforced them: check you haven't overdone it. Too many stitches crammed into one small area can create its own little pucker, which is the opposite of what you're going for.
Already Got a Pucker? Work Through This
Is it a small ripple near one edge? Undo the stitches right around that spot only. Smooth the fabric flat, re-pin if needed, and resew that section slowly with even tension.
Is the whole patch bunched up? This usually means the tension was off from early on. It's worth undoing more of the stitching than you'd like to and starting that section again properly, rather than trying to patch a fix onto a bad foundation.
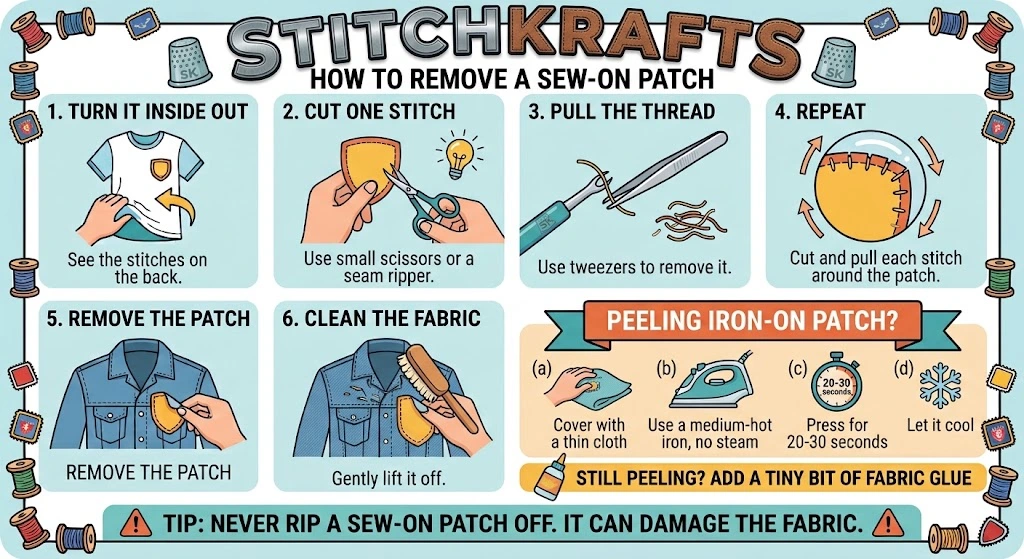
Is it leather and already puckered? Go slowly here. Leather doesn't like being unpicked and resewn too many times in the same spot, since the holes can start to show. Get it right on the second attempt if you can.
A Simple Way to Decide Your Approach
Fabric vest, patch going somewhere low movement, like the chest: standard pinning, standard stitching, you're basically set.
Fabric vest, patch going on the back panel or somewhere high movement: standard pinning and stitching, but reinforce those corners properly.
Leather vest, anywhere on the vest: skip pins, use clips or tape, use a leather needle, go slow no matter where the patch sits.
Attaching a patch to a leather jacket instead of a vest: same rules as leather vest, but expect a bit more flex in the fabric as you wear it, so corners matter even more.
Frequently Asked Questions
Why does my patch still pucker even though I'm sewing carefully?
It's almost always tension, not carelessness. One stitch pulled tighter than the rest is enough to cause a ripple.
Is a sewing machine better than hand sewing for a vest?
For fabric, a machine works well. For leather, most people get better control by hand, since you can adjust tension stitch by stitch.
Can custom motorcycle patches be sewn on by hand, or do they need a machine?
Hand sewing works fine, and actually gives you more control on thicker vest fabric or leather, where a machine can sometimes struggle.
Do I need different thread for denim versus leather?
Not different thread exactly, but doubling your thread helps on both, since it adds strength and makes tension easier to keep even.
How long should a hand sewn patch actually last?
If it's sewn properly with even tension and reinforced corners, it should hold up for years, even with regular wear.
Sorted on the Sewing, Need the Patch Itself?
If you're after embroidered patches near me, StitchKrafts Australia can help. We work with people across Sydney and Brisbane to personalise vests, jackets, and footy club gear with custom designs, sew on patches included. Get your patch made first, then sit down and stitch it on with confidence.