

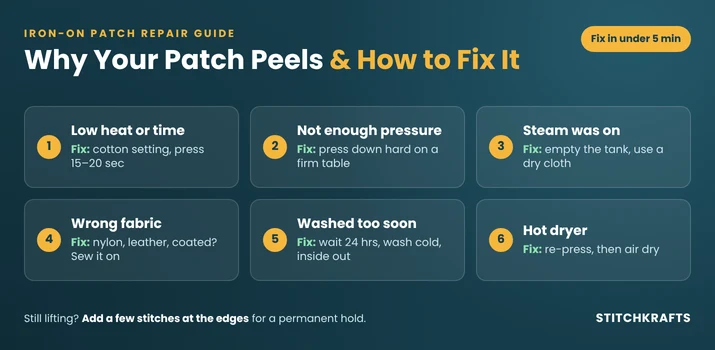
How to Fix a Peeling or Loose Iron-On Patch Fast
Quick answer: Turn the steam off, put a thin cloth over the patch, and press a hot iron firmly on the loose spot for 15 to 20 seconds. Let it cool all the way before you touch it. If it lifts again, sew a few small stitches around the edge. That fixes most peeling patches in under five minutes.
An iron on patch peels for a reason. If you find the reason, the fix lasts. If you skip it, the patch will peel again after the next wash. This guide helps you find the cause first, then fix it the right way.
The Fast Fix: 5 Steps
If you are in a hurry, do this.
- Turn off the steam. Water weakens the glue.
- Cover the patch with a thin cotton cloth, like a pillowcase or tea towel.
- Press down firmly on the loose part for 15 to 20 seconds. Do not slide the iron.
- Let it cool completely. Do not touch it while it is warm.
- Test it gently with your fingernail once it is cold.

Wait 24 hours before you wash the clothes, so the glue can set. That is the quick version. Now let’s find out why your patch peeled, so it stays on this time.
Who Did It? Six Suspects
Think of this like a detective story. Your patch did not peel for no reason. Read the clues, then find your suspect.
| Clue | Likely Suspect | The Fix |
|---|---|---|
| Patch never stuck properly | Not enough heat or time | Press again, longer |
| Edges peel first | Not enough pressure on edges | Press the edges, then add stitches |
| Peeled after the first wash | Washed too soon | Re-press, then wait 24 hours |
| Peeled after the dryer | Dryer heat melted the glue | Re-press, then air dry |
| Will not stick at all | Wrong fabric | Sew it on instead |
| Glue looks old or crumbly | Worn out glue | Add new adhesive or sew |
Now let’s look at each one.
Suspect 1: Not Enough Heat or Time
Iron on glue is made to melt. If the iron is too cool, or you press for only a few seconds, the glue never melts all the way.
The fix: Set the iron to the cotton setting, or the highest setting the fabric can take. Press for 15 to 20 seconds on the loose spot. For a full re-press, hold each section for 30 to 40 seconds with firm pressure.
Suspect 2: Not Enough Pressure
Heat is only half the job. The melted glue has to be pushed into the fabric, and that takes weight.
The fix: Lean on the iron with your whole arm. Press straight down, and never slide it. Also, use a hard, flat surface instead of a soft ironing board. A padded board soaks up the pressure. A table covered with a folded towel works better.
Suspect 3: Steam
Steam is water, and water stops the glue from sticking.
The fix: Empty the water tank or turn the steam off before you start. Make sure your pressing cloth is dry.
Suspect 4: The Wrong Fabric
Some fabrics just do not work with iron on glue.
| Fabric | Does Iron On Work? | What to Do |
|---|---|---|
| Cotton | Yes | Iron on, then add stitches for safety |
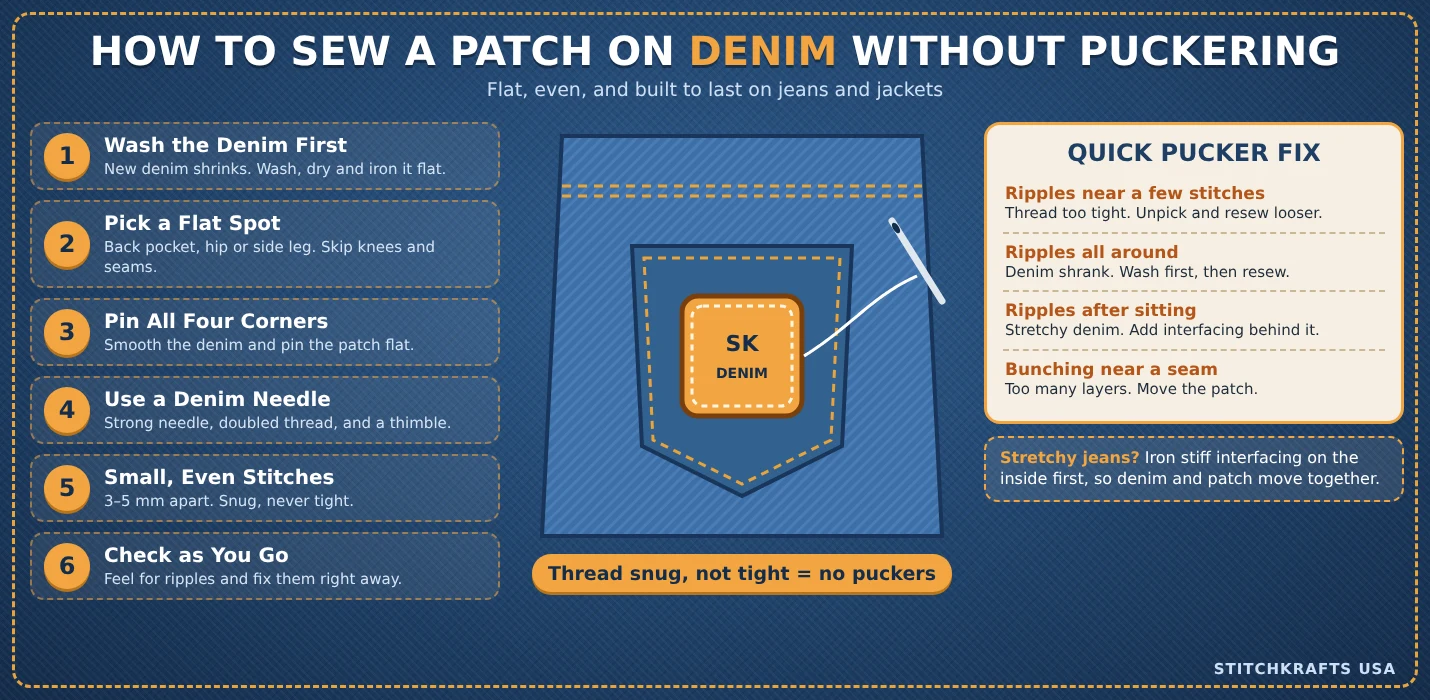
| Denim | Yes | Iron on, then add stitches |
| Polyester | Sometimes | Use low heat, or sew it on |
| Nylon | Rarely | Sew it on |
| Leather | No | Sew it on |
| Waterproof or coated fabric | No | Sew it on |
If your fabric is on the “sew it on†list, no amount of ironing will help. Go to the stitching fix below.
Suspect 5: Washing Too Soon
The glue needs time to settle. If you wash the clothes the same day, hot water can soften it before it has set.
The fix: Wait at least 24 hours after ironing before you wash. Then wash on a cold, gentle cycle with the clothes inside out.
Suspect 6: The Dryer
A hot dryer can melt the glue again. A patch can survive the wash, and then come loose in the dryer.
The fix: Air dry clothes with patches on them. If you must use the dryer, choose the lowest heat and take the clothes out early.
When Pressing Again Does Not Work: The Full Redo
Sometimes a patch is too loose, or the old glue is worn out. Pressing it again will not be enough. Here is how to start fresh.
- Lift the patch. Warm it with the iron for a few seconds, then peel it off slowly from one corner.
- Clean the fabric. Scrape off any old glue with a dull edge, like a butter knife. Brush away lint.
- Add new glue. Cut a piece of iron on adhesive film or tape a little smaller than the patch. Place it between the patch and the fabric.
- Press the whole patch. Cover with a thin cloth, and press firmly for 30 to 40 seconds.
- Flip and press again. Turn the clothes inside out and press from the back for another 30 seconds.
- Let it cool. Leave it flat and do not touch it for at least 30 minutes.
If you do not have adhesive film, a very thin line of fabric glue under the edge also works. Use only a little, because too much will go hard and shiny.
The Stitch Fix: Make It Permanent
Glue can fail again. Thread does not melt. If you want the patch to last, sew a few stitches.
You need a needle, strong thread in a color that matches the patch border, and small scissors.
- Cut a piece of thread as long as your arm, fold it in half, and tie a knot at the end.
- Start from the inside of the clothes, so the knot stays hidden.
- Sew small stitches around the edge, about 1/8 inch apart.
- Add two or three extra stitches at each corner. Corners get pulled the most.
- Tie a firm knot on the inside, and trim the thread.
Even a few stitches at the corners make a big difference. For patches that get washed a lot, a well made embroidered patch with a strong border is easier to sew on and stays looking neat.
How to Stop It From Peeling Again
Wait 24 hours before the first wash. Wash cold, gentle, and inside out. Air dry when you can. Skip bleach and harsh soap near the patch. Check the corners every few weeks, and press or stitch them the moment they lift.
Safety Notes
Irons get very hot. Keep the iron away from children and pets. Never leave it face down on clothes. Unplug it when you are done. If the fabric starts to look shiny or smells like burning, stop right away, because it may be melting.
Common Mistakes to Avoid
Using steam. Sliding the iron around. Pressing on a soft, padded board. Touching the patch while it is warm. Washing the same day. Using too much fabric glue. And trying to iron a patch onto nylon, leather, or coated fabric.
Frequently Asked Questions
How do you fix a peeling iron on patch?
Turn off the steam, cover the patch with a thin cloth, and press the loose area firmly for 15 to 20 seconds. Let it cool, then test it. If it lifts again, sew around the edge.
Why does my iron on patch keep peeling off?
The most common reasons are too little heat, too little pressure, steam, washing too soon, or a fabric that glue will not stick to.
Can I iron a patch back on after it falls off?
Often yes. Clean off the old glue, add a new strip of iron on adhesive, and press firmly for 30 to 40 seconds.
How long should I wait before washing a patch I just ironed on?
Wait at least 24 hours, so the glue can fully set.
Can I use fabric glue on a peeling patch?
Yes. Use a small, thin line under the loose edge, press it flat, and let it dry fully.
Should I sew an iron on patch?
For anything you wash often, yes. A few stitches around the edge give a permanent hold.
Want a Patch That Stays Put?
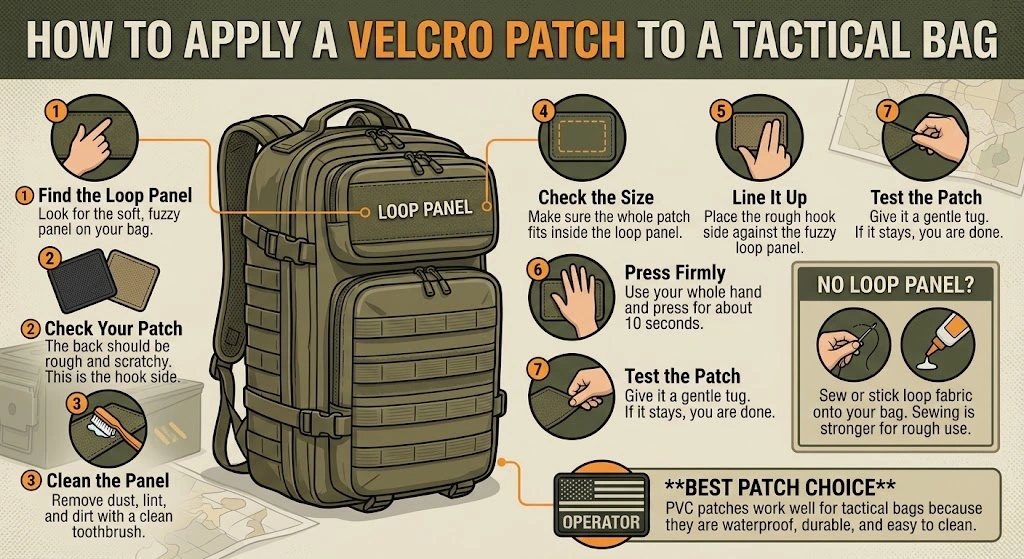
If your old patch has given up, we can make you a new one with the right backing for your clothes. Browse our custom patches to see the backing options, from iron on to sew on to Velcro. StitchKrafts USA works with schools, teams, and businesses in Chicago and across the country, and can help you choose a backing that suits the fabric you will wear it on.