

How to Iron On a Patch to a Shirt Without Damage
The 30-Second Version for People in a Hurry
Step 1: Check the Shirt Label
If it is cotton, polyester, or a blend, you are good to go. If it is nylon, rayon, leather, or vinyl, stop here and sew the patch on instead.
Step 2: Set Up Your Iron
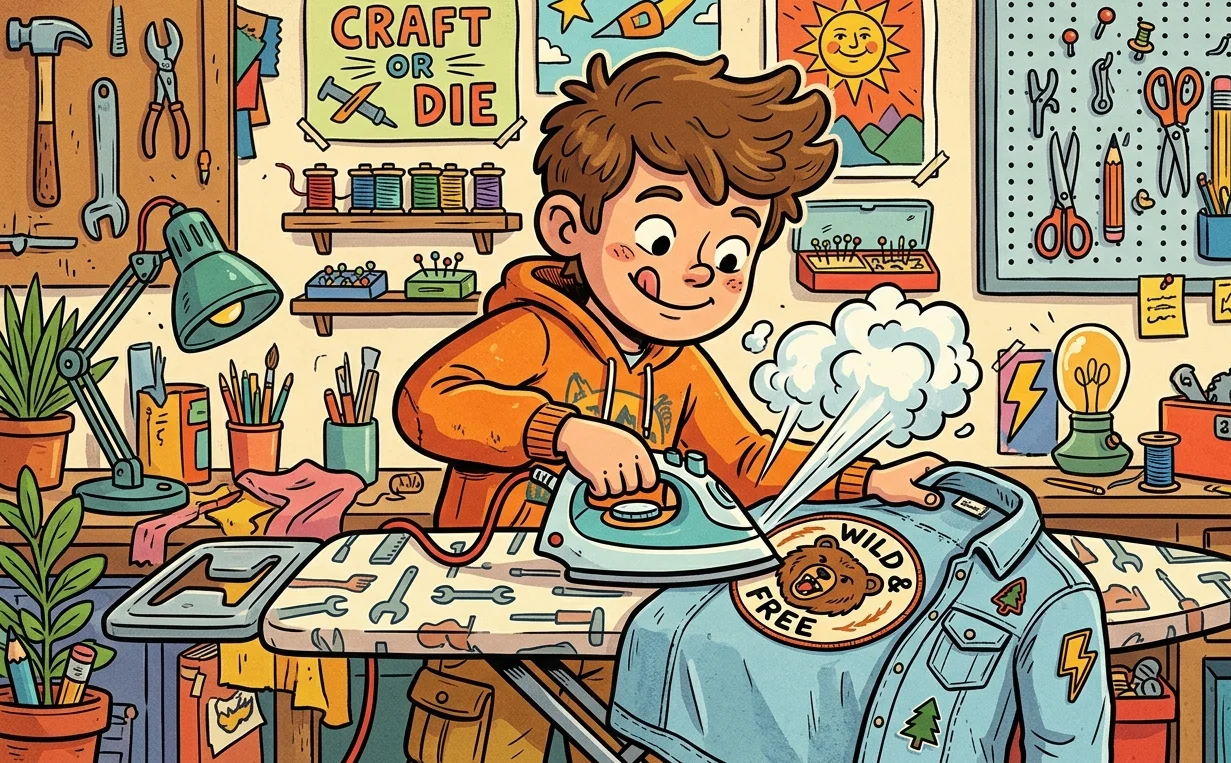
Set your iron to maximum heat. Turn the steam off. Lay the shirt flat and warm the fabric with a press cloth first.
Step 3: Position the Patch
Place the patch where you want it and cover it with the press cloth.
Step 4: Press the Patch
Press straight down for 60 seconds without moving.
Step 5: Press Again
Press for another 60 seconds.
Step 6: Flip the Shirt
Turn the shirt over and press from the back for 60 seconds.
Step 7: Let It Cool
Leave the shirt flat for 10 minutes. Done.
Everything below is the detail behind these steps, including what goes wrong and how to avoid it.
The Fabric Check Nobody Does But Everyone Should
Before the iron comes out, before the patch comes out of the packet, before anything happens. Check the label inside the shirt collar.
This is the single step that prevents the most common patch application disasters. A shirt fabric that cannot handle high heat will scorch, bubble, melt, or lose its surface texture the moment a hot iron makes contact. No technique fixes that after it happens.
Iron-on patches work on these fabrics:
- Cotton
- Polyester
- Cotton-polyester blends
- Canvas
- Most standard jersey and twill shirts
Iron-on patches do not work on these fabrics:
- Nylon
- Rayon
- Silk
- Vinyl
- Leather
- Waterproof or DWR-treated fabrics
- Moisture-wicking performance fabrics
Most everyday shirts sold in the US are cotton or cotton-blend, so if that's what you're comfortable with, you're fine to proceed. But if the shirt is a performance athletic top, a moisture-wicking running shirt, or anything with a waterproof coating, the iron stays put. Sew the patch on instead. Sewing works on every fabric without exception and produces a hold that outlasts iron-on adhesive on any item washed frequently.
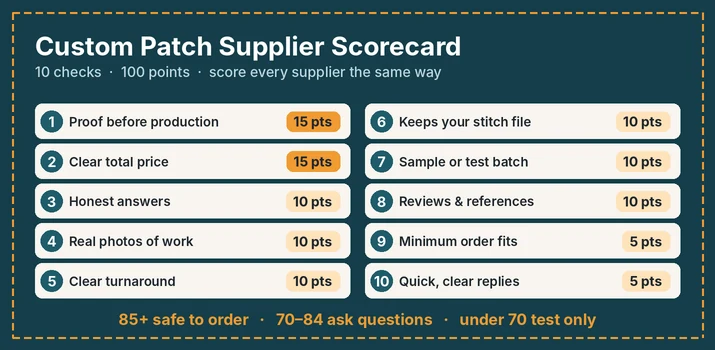
If you are ordering a custom shirt and a custom patch together, working with a quality partner matters from the start. StitchKrafts USA produces custom embroidered patches with full-coverage heat-seal backing specifically designed for clean bonding on compatible fabrics. Knowing your fabric type before ordering also helps your patch maker recommend the right backing option for your specific project.
What You Need. Nothing Complicated.
| WhatWhy | |
| A household iron | Must reach at least 370°F on the highest setting |
| An ironing board or a flat, padded surface | Two folded towels on a countertop work equally well |
| A press cloth | A cotton pillowcase, thin tea towel, or handkerchief |
| Measuring tape | Only needed if centred placement matters |
| Pins or tape | Holding the patch temporarily before pressing |
| The shirt | Washed, dry, and wrinkle-free |
| The patch | Face up, adhesive side down |
No heat press needed. No specialist equipment. A standard household iron at maximum heat with the steam turned off is everything the job requires.
Before You Press. The Placement Step Most People Rush
The placement decision is worth more time than most people give it. Once the hot iron activates the adhesive and it bonds to the shirt fabric, clean repositioning is not possible without leaving residue and potentially damaging the shirt surface.
Do this before the iron touches anything.
Pin or tape the patch lightly to the shirt in the position you are considering. Put the shirt on. Look at the placement from the front, the side, and in a mirror. A patch that looks centred when the shirt is lying flat on a table can look slightly off when the shirt is on a body, and the fabric settles into its natural shape around the torso and shoulders.
If you are placing the patch on a chest, use a measuring tape to find the true centre of the shirt and align the patch to it. For sleeve placement, refer to the sleeve patching guide and remember always to put a hand inside the sleeve before sewing to avoid stitching it shut.
Once the position looks right, remove the patch and set it aside. Make a small mark with a fabric pen or a piece of tape where the patch will go. You are ready to press.
The Pressing Method. Step by Step
Set Up the Iron Correctly
Turn the iron to its highest heat setting. This is usually the cotton or linen position on the dial. The iron needs to reach at least 370°F to fully activate the thermoplastic adhesive on the back of the patch.
Turn the steam function completely off. This is not a preference. Steam releases moisture into the adhesive layer at exactly the moment it needs dry heat to bond. Every iron-on patch that peels within the first week was almost always applied with steam still on.
Give the iron two to three full minutes to reach working temperature before pressing anything.
Warm the Shirt First
Lay the shirt flat on the ironing board, right side facing up. Smooth out any wrinkles in the application area. A patch pressed onto wrinkled fabric locks those wrinkles in permanently.
Place the press cloth over the area where the patch will go. Press the hot iron down on the press cloth for about 15 to 20 seconds to warm the shirt fabric.
This pre-warming step is skipped constantly and should not be. Warm fabric accepts the adhesive faster and more evenly than cold fabric. It is one of the small differences between a bond that holds edge to edge and one that bonds in the centre but lifts at the corners within a month.
Position the Patch
Lift the press cloth and set the iron aside on its heel.
Place the patch exactly where you want it. Adhesive side down, face side up. Make sure it is sitting completely flat with no lifted corners or curled edges.
First Press. 60 Seconds.
Lay the press cloth back over the patch.
Place the iron directly over the patch. Press straight down with firm, even pressure.
Hold for a full 60 seconds. Do not slide the iron. Do not rock it. Do not lift and reposition it partway through. Sliding the iron during activation smears the adhesive across the shirt fabric and shifts the patch from its intended position. Press and hold.
After 60 seconds, lift the iron straight up and away.
Second Press. Another 60 Seconds.
Keep the press cloth in place. Press again in the same position with the same firm pressure for another full 60 seconds.
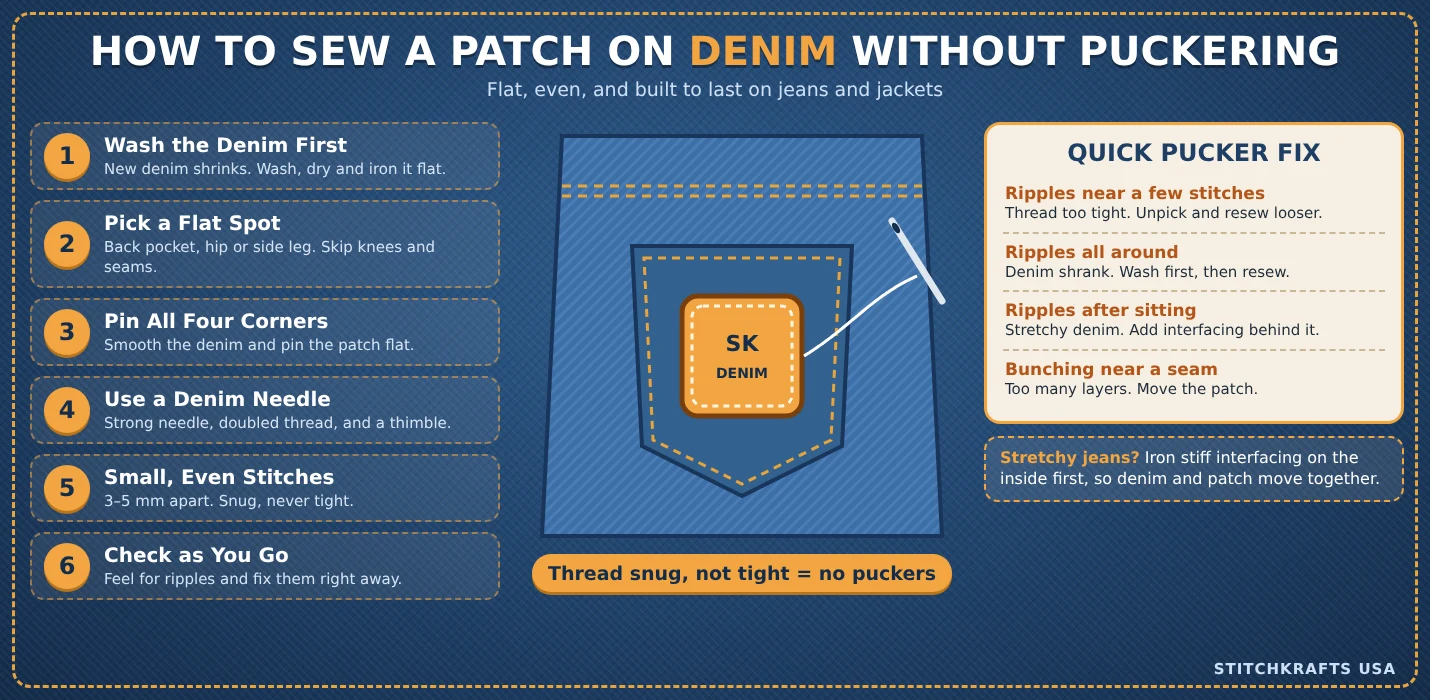
Two complete 60-second presses are the correct standard. One press alone is frequently not enough, particularly for larger patches, for custom embroidered patches with thick thread coverage, or for heavier fabrics like denim, where the adhesive layer takes longer to heat through fully from edge to edge.
Check Every Edge
Lift the press cloth and set it aside.
Gently press each corner and edge of the patch with one fingertip. Do not peel. Just press lightly and feel whether the patch sits firmly bonded or gives slightly under pressure.
If any edge or corner feels loose, replace the press cloth and press on that specific area for another 60 seconds. Repeat until every edge sits firm.
This check takes 20 seconds. Skipping it is why people end up ironing the same patch three times over the course of a week.
Press From the Back
Flip the shirt over so the reverse side of the fabric faces up.
Press the hot iron directly against the back of the shirt fabric over the area where the patch sits. No press cloth needed on this side. Firm pressure. 60 seconds.
This reverse press drives the adhesive into the fabric weave from the opposite direction, significantly improving the depth of grip. Without it, the adhesive sits on the surface of the fabric weave rather than bonding into it. The patch looks secure, but lacks the washable durability that the reverse press produces.
This step is skipped more often than any other. It is also the step that separates a patch that lasts through six months of washing from one that starts lifting after six washes.
Cool Down. Do Not Touch It Yet.
Lay the shirt flat and leave it completely undisturbed for at least 10 minutes.
The adhesive is still warm and slightly mobile immediately after pressing. Folding, hanging, or wearing the shirt before it has cooled and set causes the patch to shift position or the edges to curl before the bond has fully hardened.
Ten minutes flat. Then it is set, and the shirt is ready to wear.
What to Do When the Shirt Has a Pocket or an Internal Layer
Shirts with chest pockets present a specific problem. If the patch sits over or near the pocket, pressing through both layers of fabric bonds the pocket shut.
Before pressing, slide a small piece of cardboard or a folded piece of cloth inside the pocket so the iron only contacts the outer layer of fabric. This separates the layers and prevents them from bonding together. The same principle applies to anything with an internal facing or lining behind the application area.
This is the same logic used when sewing a patch on a sleeve. Always separate the layers you are not trying to attach before applying heat or a needle.
Customize Patches for Your Shirt. What to Know Before You Order
If you are customizing patches for a shirt before applying them, the decisions you make at the ordering stage affect how well the application goes.
Design complexity and patch type.
Simple logos with bold lines and solid colours reproduce best as custom embroidered patches. Fine detail and small text under 6mm reproduce more accurately as woven patches. Designs with gradients or more than 12 colours need dye-sublimation patches. Knowing this before you order helps ensure the result matches what you imagined.
Custom digitizing company.
Every custom embroidered patch needs a digitized stitch file before production begins. A good custom digitizing company converts your artwork into a production-ready embroidery file that reproduces your design accurately. If the stitch file is built poorly, the patch will not match your original artwork, regardless of the quality of the production process. When you order from StitchKrafts USA, custom digitizing is included as part of the order, and a physical sample is produced for your approval before the full run begins.
Backing type for shirts.
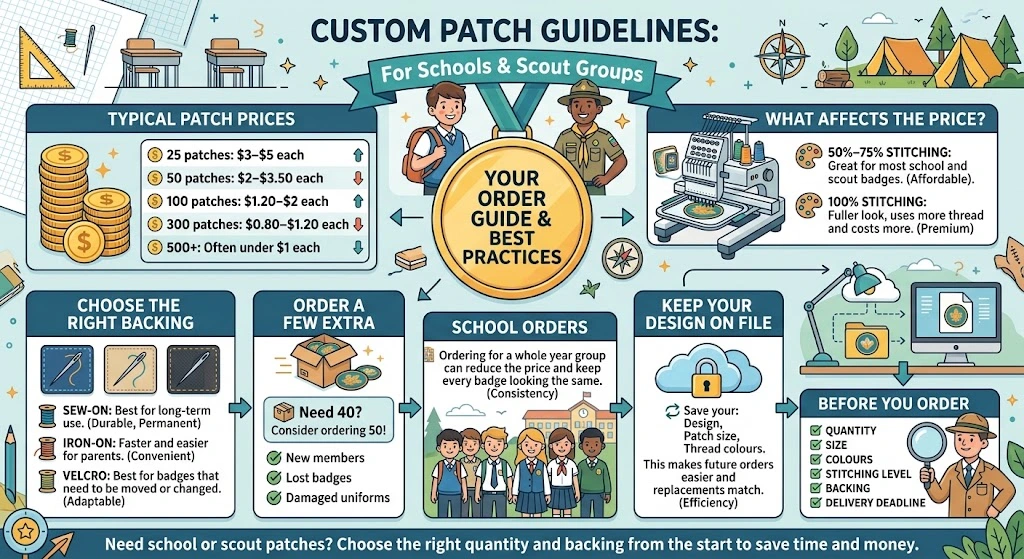
Heat-seal backing is the right choice for cotton and cotton-blend shirts, where iron-on application is the plan. For polyester-heavy blends or anything worn daily and washed frequently, ordering with a sew-on backing option and sewing the border after a light iron bond gives the most durable long-term result.
Personalized PVC patches on shirts.
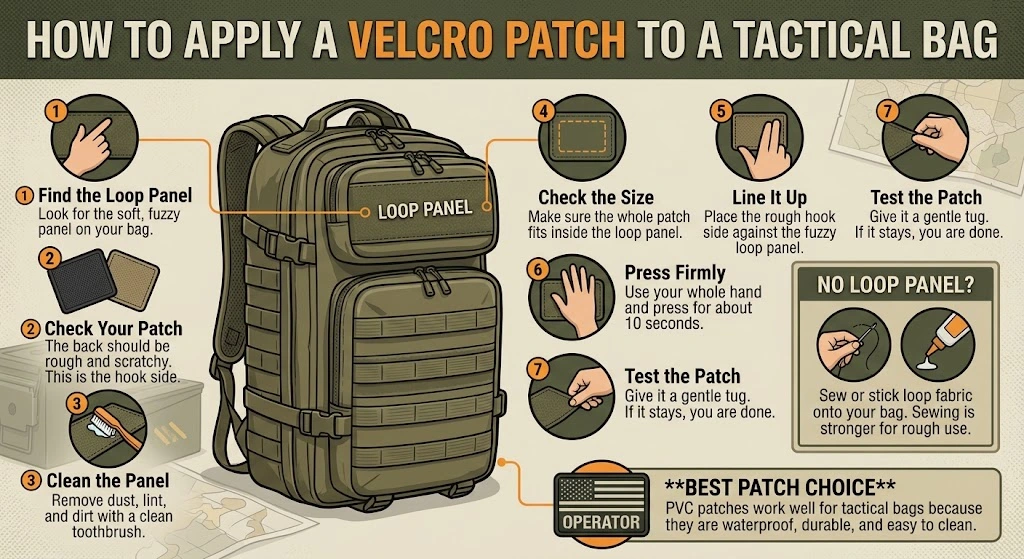
Personalized PVC patches should not be ironed onto shirts. PVC patches are moulded rubber and are not compatible with iron-on application. They are designed for sew-on or hook-and-loop backing. If you want a PVC patch on a shirt, sew it on by hand using a standard needle and a heavy-duty thread, following the same border-stitching method used for fabric patches.
Why Iron-On Patches Fail on Shirts. The Real Reasons
Understanding why patches peel makes preventing them straightforward.
Steam was left on. The most common cause of early peeling is Moisture in the adhesive layer during activation, which prevents a clean bond. Always turn the steam off before pressing.
The iron was not hot enough. A partially heated iron produces a partial bond that holds briefly and then fails. Two to three minutes at maximum heat before pressing is the correct preparation.
Press time was too short. A 15-second press is not enough. A 30-second press is not enough. 60 seconds twice, plus the reverse press. That is the correct method.
The shirt fabric is synthetic. Iron-on adhesive does not grip nylon, rayon, or performance fabrics reliably. These shirts need sewing.
The shirt was washed too soon. The adhesive continues to cure after pressing. Washing within hours of application stresses the bond before it has fully set. Wait at least 24 hours before the first wash.
The reverse press was skipped. Without the reverse press, the adhesive sits on the fabric surface rather than bonding into the weave. It looks right, but lacks washable durability.
The patch quality was poor. Cheap patches use thin, unevenly distributed adhesive. The centre bonds, but the edges fail quickly. Custom embroidered patches from StitchKrafts USA are made with full-coverage backing, which means the bond holds from edge to edge rather than just in the centre, where pressure is most concentrated during ironing.
The Extra Step That Makes It Permanent
You should sew a Patch on a sleeve. If the shirt has a sleeve patch or if you want any shirt patch to last through years of daily wear and regular washing, add stitching after the iron-on step.
Iron the patch first to position it precisely where you want it. Then sew around the border using a hand needle and thread, working all the way around the full edge of the patch.
For sleeve patches specifically, always slide your hand inside the sleeve before picking up the needle. This separates the outer layer of fabric from the inner layer and prevents accidentally stitching the sleeve shut, which is the most common sleeve patching mistake. Keep your hand inside throughout the sewing.
The combination of iron-on positioning and sewn border is the professional standard for any patch on a shirt that will be worn regularly. Iron positions. Stitching holds. Together, they produce a result that neither method achieves alone.
Shirt Types and the Right Application Method
| Shirt Type | |||
| Cotton tee or shirt | Yes | Iron, then optionally sew the border | Two presses plus reverse press |
| Cotton-polyester blend | Yes | Iron the border | Full coverage press cloth on polyester content |
| Heavy cotton flannel | Yes | Three 60-second presses | Thick fabric takes longer to heat through |
| Polyester performance shirt | No | Sew only | The adhesive does not grip. Heat may damage fabric |
| Nylon athletic shirt | No | Sew only | Heat melts or distorts the nylon surface |
| Rayon shirt | No | Sew only | Scorches quickly under high heat |
| Denim shirt | Yes | Iron the border | Treat the same as denim jacket panels |
Frequently Asked Questions
Can you iron a patch onto any shirt?
No. Cotton, polyester, and cotton-polyester blends work well. Nylon, rayon, silk, and performance fabrics do not. Always check the care label before applying heat. If the label shows a crossed-out iron symbol, sew the patch on instead.
What temperature should the iron be for ironing on a patch?
The highest setting on your iron, which should reach at least 370°F. This is usually the cotton or linen position on the dial. Never use a lower setting in an attempt to be cautious. Insufficient heat is the leading cause of patches that do not bond properly.
Why does my iron-on patch keep coming off the shirt?
The most common causes are steam being left on during application, insufficient press time, a synthetic shirt fabric that does not hold adhesive, or washing too soon after application. Follow the full method: two 60-second presses, reverse press from the back, steam off, 24 hours before washing.
Can you iron on a patch without a press cloth?
Technically, yes, but we don't recommend it. Without a press cloth, the iron makes uneven contact with the patch surface and risks scorching the embroidery thread or leaving iron plate marks on the patch face. Always use a press cloth, even if it is just a clean cotton handkerchief.
Should I sew a patch after ironing it on a shirt?
For any shirt worn daily or washed regularly, yes. Sewing around the border after ironing gives a hold that adhesive alone cannot match through repeated wash cycles and normal wear. For occasional-use or display shirts, an iron-on alone is sufficient.
Can you iron personalized PVC patches onto a shirt?
No. PVC patches are moulded rubber and are not designed for iron-on application. Apply PVC patches by sewing them on or using hook and loop backing. Applying a hot iron to a PVC patch face will warp and discolour the material permanently.
How long should you wait before washing a shirt after ironing on a patch?
At least 24 hours. The adhesive cures and hardens gradually after pressing. Washing before the bond has fully set weakens the grip before it has a chance to establish properly. When you do wash, turn the shirt inside out and use a cool or warm cycle rather than hot.
One Sentence That Covers the Whole Guide
Maximum heat, no steam, two full 60-second presses, reverse press from the back, 10 minutes cooling, 24 hours before washing — do all six and the patch stays exactly where you put it.