

How to Put a Patch on a Jacket Perfectly
The complete Australian guide. Placement, ironing, and stitching that actually holds.
Quick Answer
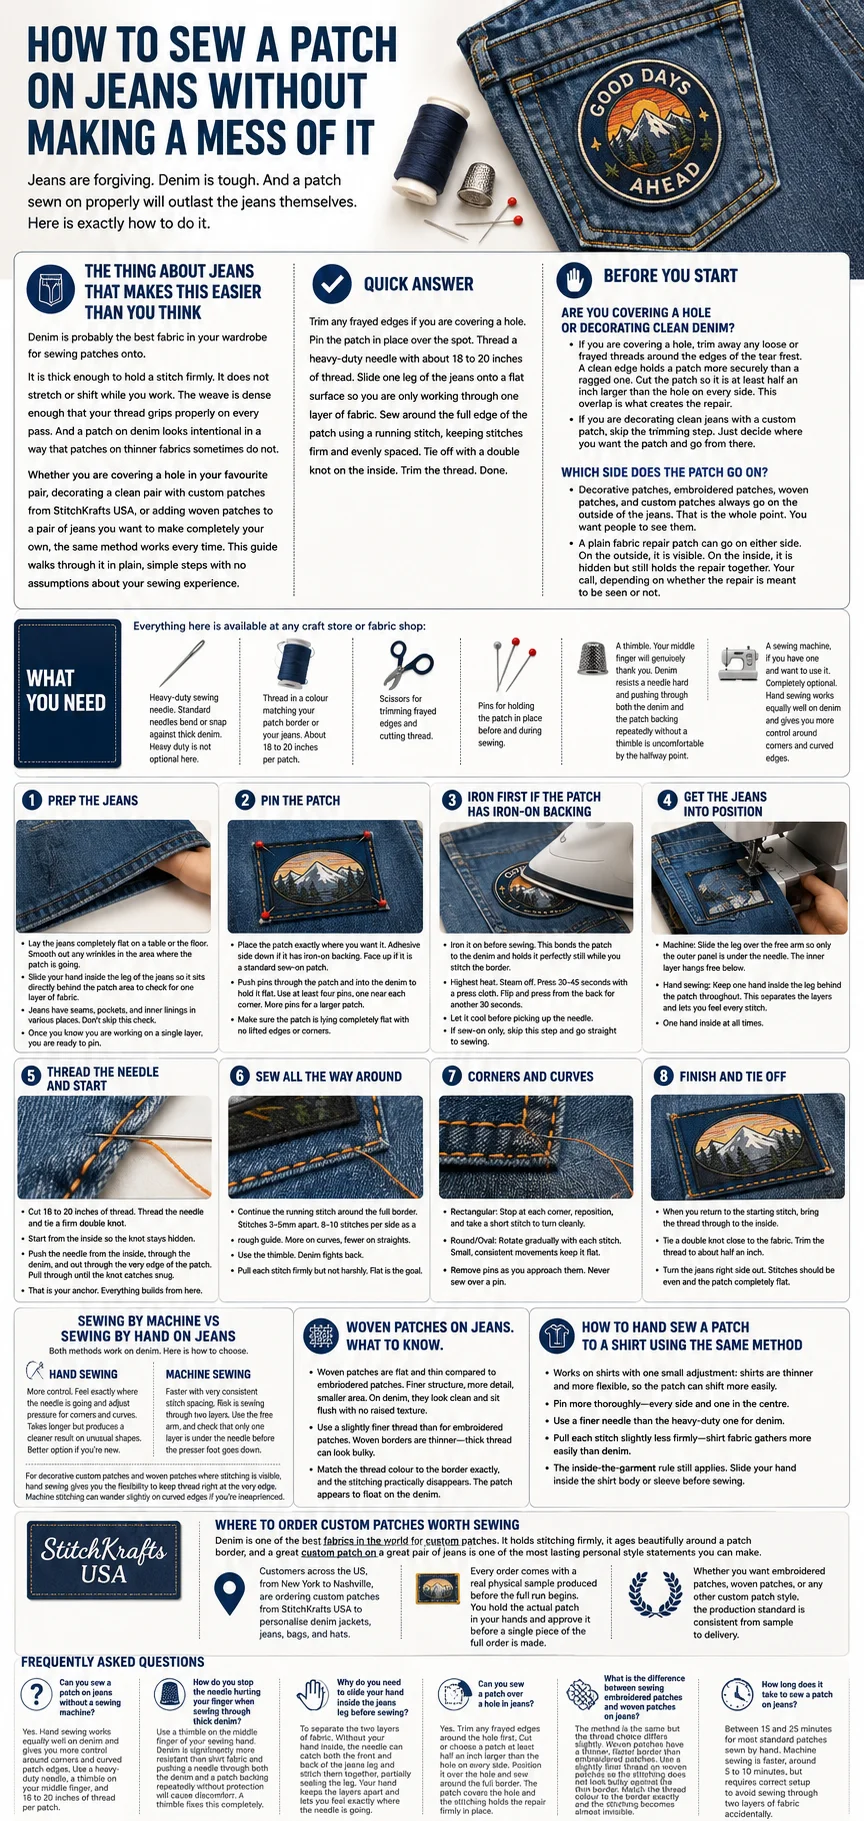
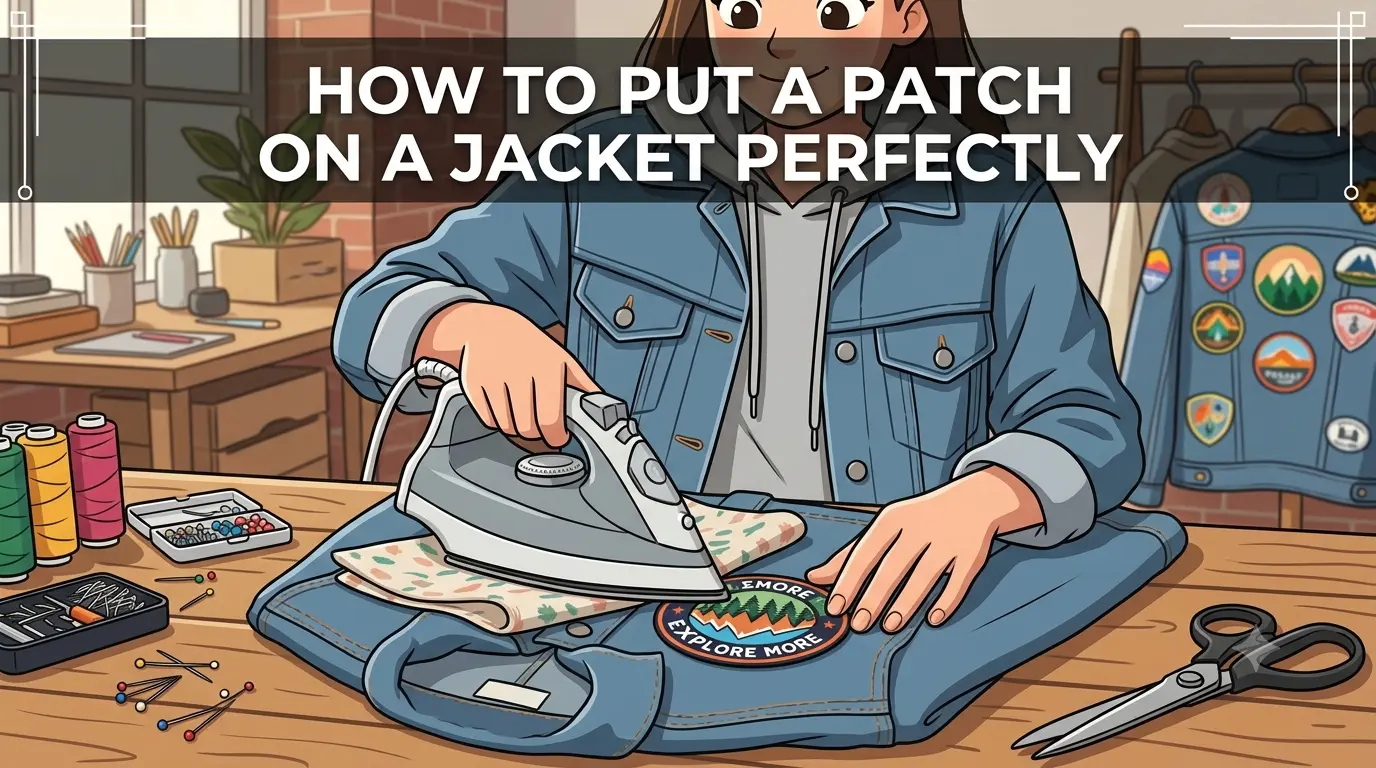
Pin the patch where you want it. Put the jacket on and check it in a mirror before doing anything permanent. For iron-on patches, press at maximum heat with no steam for 30 to 45 seconds using a press cloth, then press from the back. Finish by sewing around the full border with a running stitch and tying off on the inside. Works on denim, canvas, and cotton jackets.
The Short Version: Every Step at a Glance
What You'll Need
- Needle
- Thread
- Scissors
- Thimble
- Household iron
- Press cloth
- Ironing board
- Tape measure
- Pins
Step 1
Pin the patch onto the jacket where you want it.
Step 2
Put the jacket on. Check the position in a mirror. Adjust until you are happy.
Step 3
Set the iron to maximum heat. Turn steam completely off.
Step 4
Lay the jacket flat on the ironing board, right side up.
Step 5
Place a press cloth over the patch area. Press with the iron for 15 seconds to warm the fabric.
Step 6
Remove the press cloth. Position the patch exactly where you want it, adhesive side down.
Step 7
Cover with the press cloth again. Press straight down for 30 to 45 seconds. Do not slide.
Step 8
For a large patch, press section by section until the full surface is covered.
Step 9
Flip the jacket over. Press from the back for 30 to 45 seconds.
Step 10
Thread the needle. Tie a knot at one end.
Step 11
Start from inside the jacket. Push the needle up through the fabric and out through the patch edge.
Step 12
Stitch all the way around the border, keeping each stitch 3 to 5mm apart.
Step 13
Tie a double knot on the inside. Trim the thread.
The Full Guide
Step One: Check the Jacket Material Before Anything Else
This is the step most Australians skip. It is the most important one.
Iron-on patches bond reliably to cotton denim, canvas, cotton twill, and cotton-polyester blends. These are the most common jacket fabrics across Australia and the method works well on all of them.
Do not use an iron on these materials:
- Leather
- Nylon
- Waxed fabric
- Waterproof-coated outdoor jackets
- Fleece
- Any technical synthetic fabric used in hiking and outdoor gear
A large proportion of Australian outdoor jackets, sports jackets, and weather-resistant coats fall into the no-iron category. If your jacket is any of these materials, skip the ironing steps entirely and go straight to sewing. Sewing works on every jacket type without exception.
Step Two: Placement – The Decision That Matters Most
Before the iron comes out, sort out exactly where the patch is going.
Pin the patch in your chosen position. Then put the jacket on and look at it in a mirror from the front, the side, and if possible from behind.
This step exists for one reason. A jacket changes shape completely when it is on a body compared to when it is lying flat on a table. The back panel curves. The front panels sit differently. A patch position that looks perfectly centred on a flat jacket can look noticeably off once the jacket is worn.
This is the check that prevents a permanently misplaced patch. Two minutes now saves a lot of frustration later.
For a back patch that needs to be precisely centred, measure across the jacket back from seam to seam and mark the midpoint with a fabric pen or small piece of masking tape. Measure down from the collar as well if vertical positioning matters. Use both measurements together before pressing or sewing anything.
Once you are satisfied with the position, take the jacket off and remove the pin. You are ready to iron.
Step Three: Ironing the Patch On
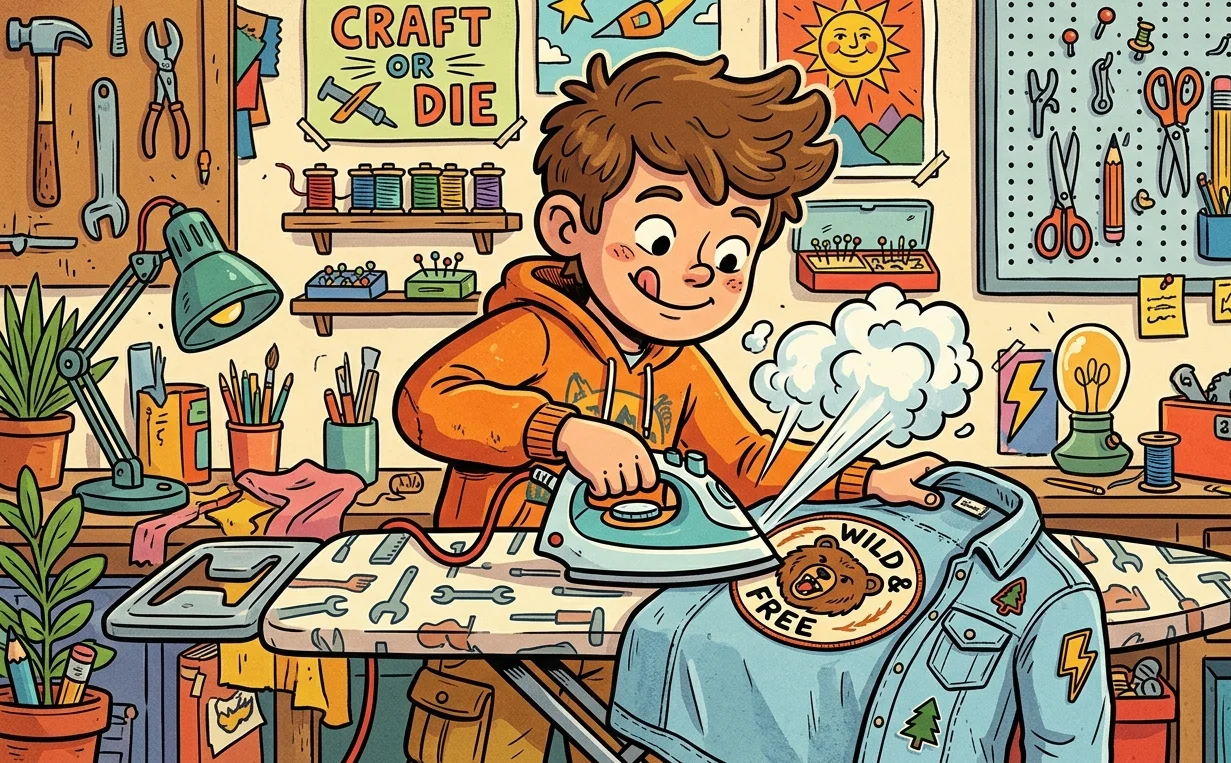
Set your iron to maximum heat. Turn the steam function off completely. Steam releases moisture into the adhesive during activation and prevents a clean bond. This is the single most common reason iron-on patches in Australia peel within the first few washes.
Wait two to three minutes for the iron to reach full working temperature before pressing anything.
Lay the jacket flat and smooth on the ironing board, outside facing up. Make sure there are no wrinkles in the application area. A patch pressed onto creased fabric locks those creases in permanently.
Place the press cloth over the patch area. A thin cotton tea towel or cotton pillowcase works well. Press for 15 to 20 seconds to pre-warm the fabric. Warm fabric accepts the adhesive faster and more evenly, which produces a bond that holds from edge to edge rather than just in the centre.
Remove the press cloth. Place the patch exactly where you want it, adhesive side down, design facing up. Make sure it is lying completely flat with no lifted corners or edges.
Cover the patch with the press cloth again. Press straight down with firm pressure for 30 to 45 seconds. Do not slide the iron. Sliding shifts the patch and smears the adhesive across the jacket fabric underneath it.
For a patch larger than the iron plate, work section by section. Press one area for 30 to 45 seconds, move to the next adjacent section, and repeat until the full patch surface has been covered.
Flip the jacket over so the inside faces up. Press from the back for another 30 to 45 seconds. This reverse press is the step that makes the most difference to long-term hold. It pushes the adhesive deeper into the fabric weave from the opposite direction, significantly improving how well the patch survives repeated washing.
Let the jacket cool for two to three minutes. Press each corner and edge gently with a fingertip. If any section feels loose, press that area again for 30 seconds and recheck.
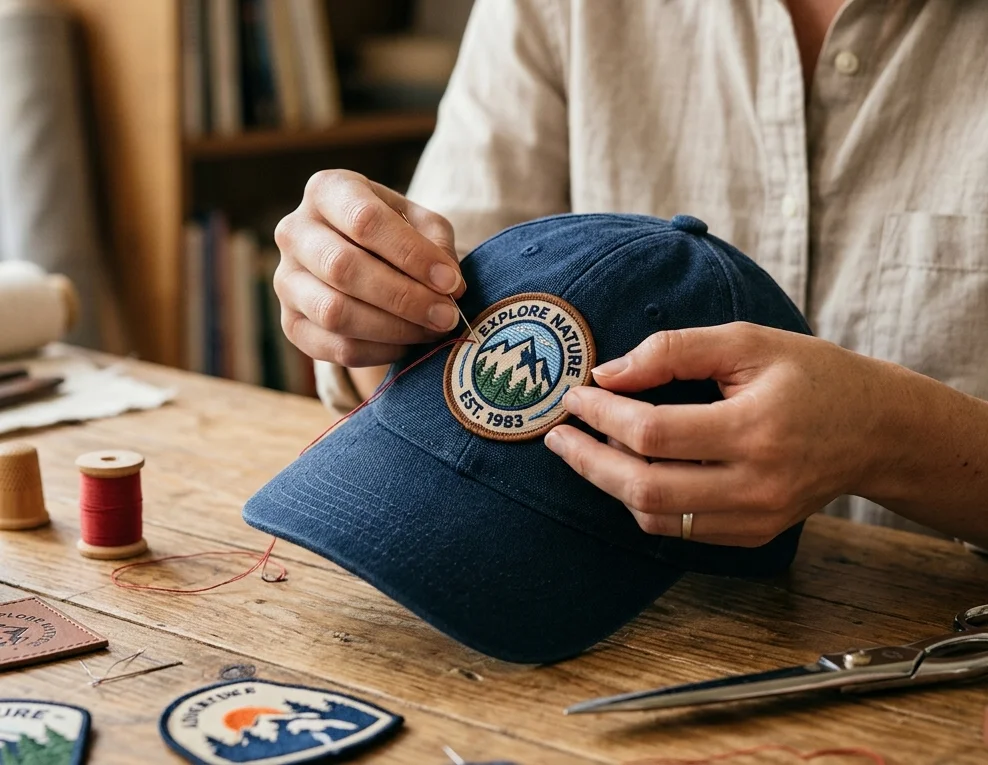
Step Four: Sewing the Patch On
For any jacket worn and washed regularly in Australia, sewing the border after ironing is what makes the patch permanent.
Cut 18 to 20 inches of thread. Fold it through the eye of the needle to double it for added strength. Tie a knot at the loose end.
Start from the inside of the jacket so the knot stays hidden. Push the needle from the inside, through the jacket fabric, and out through the edge of the patch. Pull the thread through until the knot sits snug against the inside of the jacket.
Position the needle 3 to 5mm from the patch edge throughout. This is the running stitch position.
Continue the running stitch all the way around the full border of the patch.
Push the needle down through the patch edge and through the jacket fabric. Pull the thread to the inside. Bring the needle back up from the inside through the jacket fabric and out through the patch edge. Pull firmly after every stitch. Keep the spacing even as you go.
Consistent spacing is what makes the finished stitching look deliberate and neat rather than rushed. This is how you sew patches neatly. Not a special technique. Just consistent spacing and consistent tension on every stitch.
Use a thimble on your thumb for denim and canvas jackets. Thick Australian work jackets and heavy canvas outerwear resist the needle significantly more than lighter fabrics. The thimble protects your thumb and gives you better control over each stitch.
When you arrive back at the starting point, bring the thread through to the inside. Tie a firm double knot close to the fabric. Trim the thread to about half an inch from the knot.
Step Five: Leather Jackets – Sewing Only
Never apply heat to a leather jacket. Iron-on application is not suitable and will cause permanent surface damage.
Use a leather needle rather than a standard sharp. Wax the thread lightly by running it across a piece of beeswax before you start. This reduces friction through the leather and makes each stitch easier to pull through cleanly. Use heavy-duty thread for a stronger hold.
The stitching method is the same running stitch used for denim and canvas. Stitch all the way around the full border and tie off on the inside.
Step Six: Waterproof and Technical Jackets
A significant proportion of Australian outerwear is waterproof, weatherproof, or made from technical synthetic fabrics for hiking, trail running, and outdoor use. None of these can be ironed.
Sewing is the only suitable method for these materials. Pin the patch, check the placement with the jacket on, and stitch around the full border without any heat involved.
This applies to jackets made from nylon, polyester shells, softshell fabrics, and anything with a DWR or waterproof membrane. The iron destroys these coatings permanently and cannot be reversed.
Silicone Patches and Handmade Patches on Jackets
Custom silicone patches must always be sewn on. They are not compatible with iron-on heat-seal application. Use the same running stitch method and work all the way around the full border.
Handmade patches from a small handmade patches company often arrive without any adhesive backing. Pin the patch in place, check the position with the jacket on, and sew around the full border without ironing at all.
Where to Order Custom Patches in Australia
Many Australians search for embroidered patches near me when they are ready to order. Local embroidery shops can produce patches, but the range of patch types, the quality consistency from piece to piece, and the production process varies significantly between suppliers.
For a custom embroidered patch, woven patch, or custom silicone patch made from your original design, with a physical sample provided for approval before the full production run, ordering from a specialist patch maker produces more consistent results than a general local embroiderer.
StitchKrafts USA ships custom patches to Australian buyers regularly. Every order includes a real physical sample produced before full production begins. You hold the actual patch in your hands and confirm it matches your design before the full quantity is made. This removes the most common frustration in custom patch ordering and makes sure what arrives matches what you imagined when you first designed it.
Frequently Asked Questions
How do you put a patch on a jacket without sewing in Australia?
Use an iron-on patch on a cotton or denim jacket. Set the iron to maximum heat, turn steam off, press with a press cloth for 30 to 45 seconds, and press again from the back. This holds well on jackets worn occasionally. For jackets worn daily or washed frequently in Australian conditions, sewing around the border after ironing gives a much stronger long-term hold.
How do you centre a patch on the back of a jacket?
Measure across the jacket back from seam to seam to find the midpoint. Mark it lightly with a fabric pen or a small piece of masking tape. Measure down from the collar as well if vertical position matters. Use both measurements together to position the patch before pressing or sewing.
Can you put a patch on a leather jacket in Australia?
Yes, by sewing only. Heat damages leather permanently. Use a leather needle, heavy-duty thread with a little beeswax run along it to reduce friction, and stitch all the way around the border using a running stitch.
Can you put a patch on a waterproof or outdoor jacket?
Sewing only. Iron-on application destroys waterproof coatings and DWR treatments permanently and cannot be reversed. Pin the patch, check the placement with the jacket on, and stitch around the border without any ironing.
Why does my iron-on patch keep lifting off my jacket after washing?
The most common causes are insufficient press time, steam being left on during application, or skipping the reverse press from the back. In Australia, frequent washing in warm conditions also accelerates adhesive breakdown. Sewing the border after ironing prevents lifting regardless of how often the jacket is washed.
What needle size works best for sewing patches onto a denim jacket?
A sharps style needle in size 2, 3, or 4. These are firm enough to push through thick denim cleanly without bending or snagging.
Where can I order custom embroidered patches in Australia?
StitchKrafts USA produces custom embroidered patches, woven patches, and custom silicone patches for Australian buyers. Every order includes a physical sample before full production. You approve the real patch before the full quantity is made.