

How to Put a Patch on a Jacket Perfectly
Clean placement. Solid application. Stitching that holds. Nothing extra.
Quick Answer
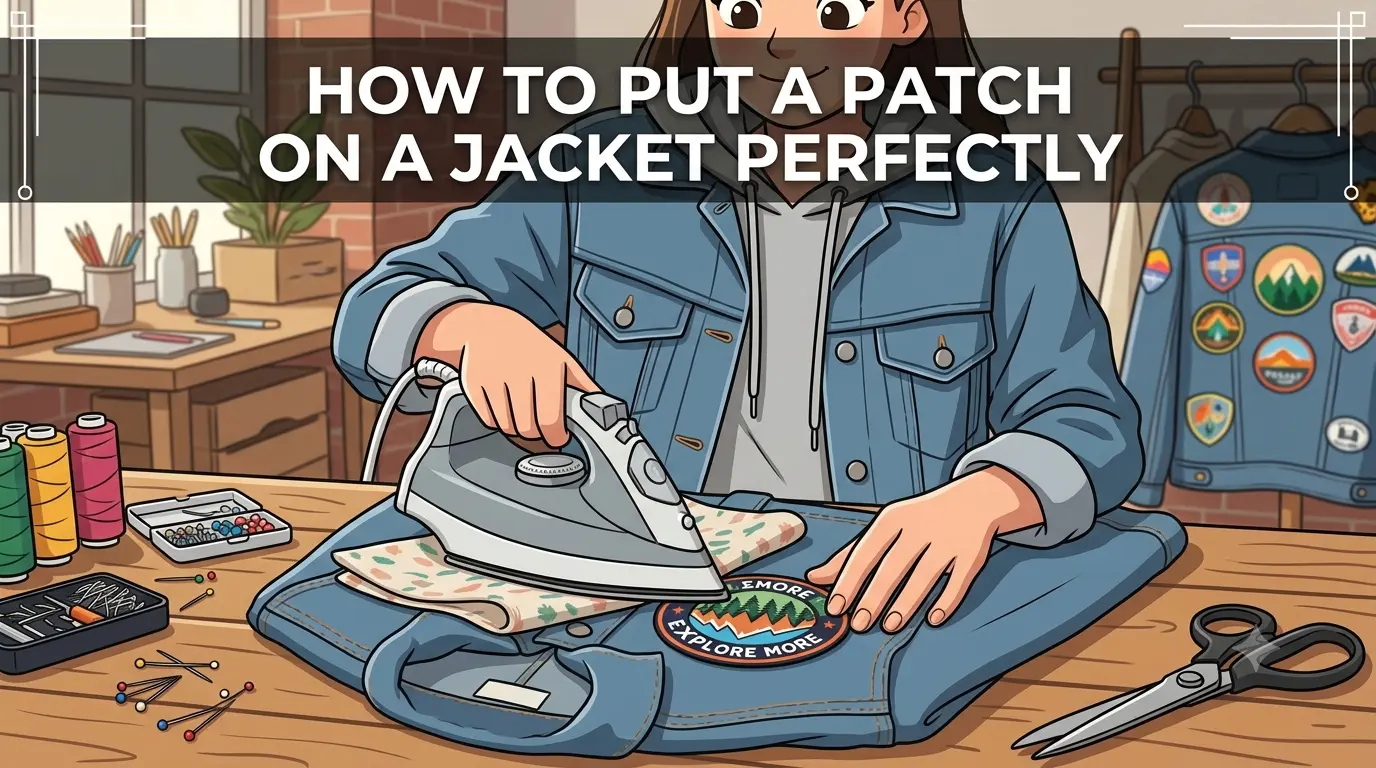
Pin the patch in place. Put the jacket on and check it in a mirror. Iron it on with maximum heat and no steam for 30 to 45 seconds with a press cloth. Press from the back. Then sew around the full border with a running stitch. Tie off inside. Done.
The right method depends on two things: the patch backing and the jacket fabric. Iron-on patches suit cotton and denim. Leather, nylon and waterproof jackets need sewing. Silicone and PVC patches are always sewn. This guide covers each one.
The Short Version: All Steps at a Glance
What You Need
- Needle
- Thread
- Scissors
- Thimble
- Iron
- Press cloth
- Ironing board
- Measuring tape
- Pins
Step 1
Pin the patch to the jacket where you want it.
Step 2
Put the jacket on. Check placement in a mirror. Adjust until satisfied.
Step 3
Set the iron to the highest heat. Turn steam completely off.
Step 4
Lay the jacket flat on the ironing board, with the outside facing up.
Step 5
Place press cloth over the patch area. Press iron for 15 seconds to warm the fabric.
Step 6
Remove press cloth. Position the patch exactly where you want it.
Step 7
Cover the patch with a press cloth. Press the iron straight down for 30 to 45 seconds. Do not slide.
Step 8
For large patches, move section by section until the full surface is pressed.
Step 9
Flip jacket over. Press from the back for 30 to 45 seconds.
Step 10
Thread needle. Tie a knot at one end.
Step 11
Start the stitch from inside the jacket, push the needle up through the jacket fabric, and out through the patch edge.
Step 12
Run stitch all the way around the patch border, keeping stitches 3 to 5mm apart.
Step 13
Tie off with a firm double knot on the inside. Trim thread.
The Full Guide
Before You Start: Check the Jacket Material
Iron-on patches bond well to cotton denim, canvas, cotton twill, and cotton-polyester blends. Do not use an iron on leather, nylon, vinyl, waterproof-coated jackets, or wax-treated fabrics. For those materials, skip the ironing steps and go straight to sewing.
Placement: The Step That Decides Everything
Pin the patch where you think you want it. Then put the jacket on and look at it in a mirror before anything permanent happens.
A patch position that looks right on a flat jacket looks different when the jacket is on a body. The fabric settles, the panels curve, and what seemed centred can look off. This is the check that prevents a patch from being permanently misplaced.
For a back patch that needs to be precisely centred, measure across the back of the jacket from seam to seam and mark the halfway point with a fabric marker. Measure down from the collar if vertical positioning matters too.
Once you are happy with the placement, remove the pin and take off the jacket. You are ready to iron.
Standard Patch Positions on a Jacket
If you are not sure where to start, these are the positions most people use, and they look balanced on almost any jacket:
- Left chest: centred on the panel, about 3 to 4 inches below the shoulder seam. Best for name tags and small logos up to 3.5 inches.
- Right chest: mirror the left side so both patches sit at the same height.
- Upper sleeve: centred on the outer sleeve, about 2 inches below the shoulder seam.
- Upper back: centred, with the top edge 3 to 4 inches below the collar seam. This is where large back patches of 8 to 12 inches go.
- Front pockets and lower panels: good for smaller collections of patches on denim jackets.
On a denim jacket, use the seams and yokes as guides. Lining a patch up with a seam makes it look planned rather than random.
Ironing the Patch On
Set the iron to its highest heat setting. Turn steam completely off. Give the iron two to three minutes to reach full temperature.
Lay the jacket flat on the ironing board, outside facing up. Smooth out any wrinkles in the application area.
Place the press cloth over the area where the patch will go and press with the hot iron for 15 to 20 seconds to warm the fabric. This pre-warming step helps the adhesive bond more evenly across the full patch surface.
Remove the press cloth. Place the patch exactly where you want it, adhesive side down, face up. Cover with the press cloth again.
Press the iron straight down over the patch with firm pressure for 30 to 45 seconds. Do not slide. Sliding shifts the patch and smears the adhesive.
For a large patch, press section by section until the entire surface has been covered.
Flip the jacket over and press from the back for another 30 to 45 seconds. This reverse press pushes the adhesive deeper into the fabric weave and significantly improves the bond's longevity through washing and wear.
Let the jacket cool for a few minutes. Gently press each corner and edge with a fingertip to check the bond. If any edge feels loose, press that section again.
Sewing the Patch On: How to Sew Patches Neatly
Sewing after ironing is what separates a patch that lasts months from one that lasts years. For any jacket worn regularly, this step is not optional.
Cut 18 to 20 inches of thread and fold it through the needle eye for doubled strength. Tie a knot at the loose end.
Start from the inside of the jacket so the knot stays hidden. Push the needle from the inside, through the jacket fabric, and out through the edge of the patch. Pull the thread through until the knot sits against the inside of the jacket.
Keep the needle position about 3 to 5mm from the patch edge throughout. This is the running stitch position.
Continue the running stitch all the way around the full border:
Push the needle back down through the patch edge and through the jacket fabric. Pull thread through to the inside. Push the needle back up from inside the jacket fabric, through the patch edge, and out. Pull firmly after every stitch.
Keep stitches consistently spaced. Even spacing is what makes the finished stitching look neat and intentional rather than rushed.
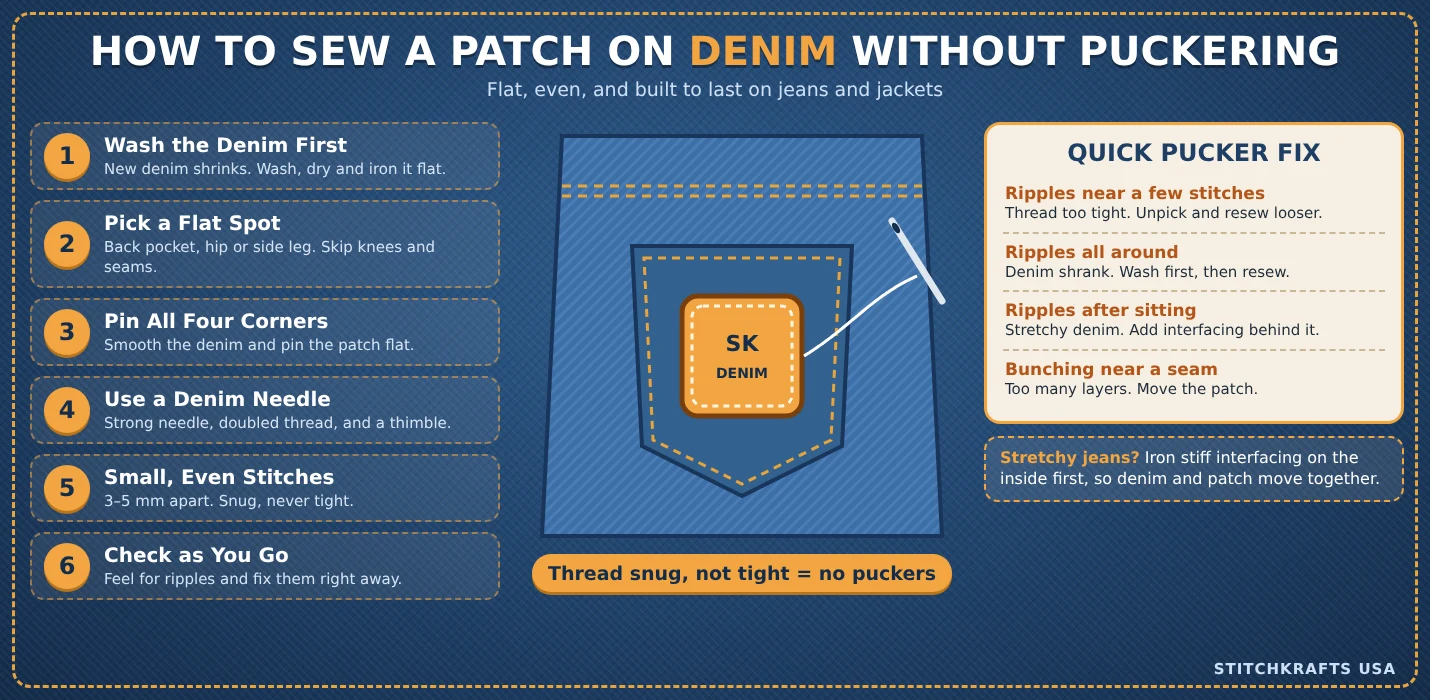
Use a thimble on your thumb for denim and canvas jackets. The fabric thickness on a jacket is significantly greater than that of a shirt or bag, and a thimble makes a real difference along the full border.
When you arrive back at the starting point, bring the thread through to the inside. Tie a double knot close to the fabric. Trim the thread to about half an inch from the knot.
Leather Jackets: Sewing Only
Never iron a leather jacket. Sewing is the only method.
Use a leather needle rather than a standard sharp needle. Apply a small amount of beeswax to the thread before sewing to reduce friction as it passes through the leather. Use heavy-duty thread for a stronger hold. The running stitch method is the same as for denim and canvas.
Leather takes a few extra precautions, like using clips instead of pins so you do not leave holes. Our full guide on how to attach a patch to a leather jacket walks through it step by step.
Silicone and Handmade Patches on Jackets
Custom silicone patches and PVC patches are made from rubber-like materials that heat can warp, so they always need sewing rather than ironing.
Custom silicone patches must always be sewn on. They are not compatible with iron-on application. Use the same running-stitch method around the entire border.
Handmade patches with no adhesive backing also go straight to sewing. Skip the ironing steps entirely and pin the patch in place before stitching.
Caring for a Patched Jacket
Turn the jacket inside out before washing, use cold water and a gentle cycle, and let it air dry. High dryer heat softens iron-on glue and is the main reason edges start lifting. Our guide on washing clothes with iron-on patches covers this in more detail. If you ever want to move a patch, see how to remove a sew-on patch without damaging the jacket.
Frequently Asked Questions
Can you put patches on a jacket without sewing?
Yes, using iron-on heat-seal patches on cotton and denim jackets. Press at maximum heat, without steam, for 30 to 45 seconds using a press cloth, then press from the back. This holds well on jackets worn occasionally. For daily wear and regular washing, sewing the border after ironing gives a much stronger result.
Before you heat anything, turn the patch over. A shiny, slightly plastic layer on the back means it has iron-on backing. Plain fabric means it is a sew-on patch and needs stitching.
How do you centre a patch on the back of a jacket?
Measure across the back of the jacket, from seam to seam, to find the halfway point. Mark it lightly with a fabric marker. Measure down from the collar if you also need to set the vertical position. Use these two reference points to position the patch before pressing.
Can you put patches on a leather jacket?
Yes, by sewing only. Never iron leather. Use a leather needle, heavy-duty thread, and beeswax to reduce friction, and stitch around the entire border with a running stitch.
Can you put patches on a nylon or waterproof jacket?
Yes, by sewing only. Heat damages nylon and destroys waterproof coatings. Pin the patch in place and sew around the entire border without any ironing.
Why is my patch lifting off the jacket after washing?
The most common causes are insufficient press time during ironing, leaving steam on, or skipping the reverse press on the back. Sewing the border after ironing prevents lifting regardless of how many times the jacket is washed.
What needle size works best for sewing patches on a denim jacket?
A sharps-style needle in sizes 2, 3, or 4 works well for denim. These sizes are firm enough to push through thick fabric cleanly without bending.