

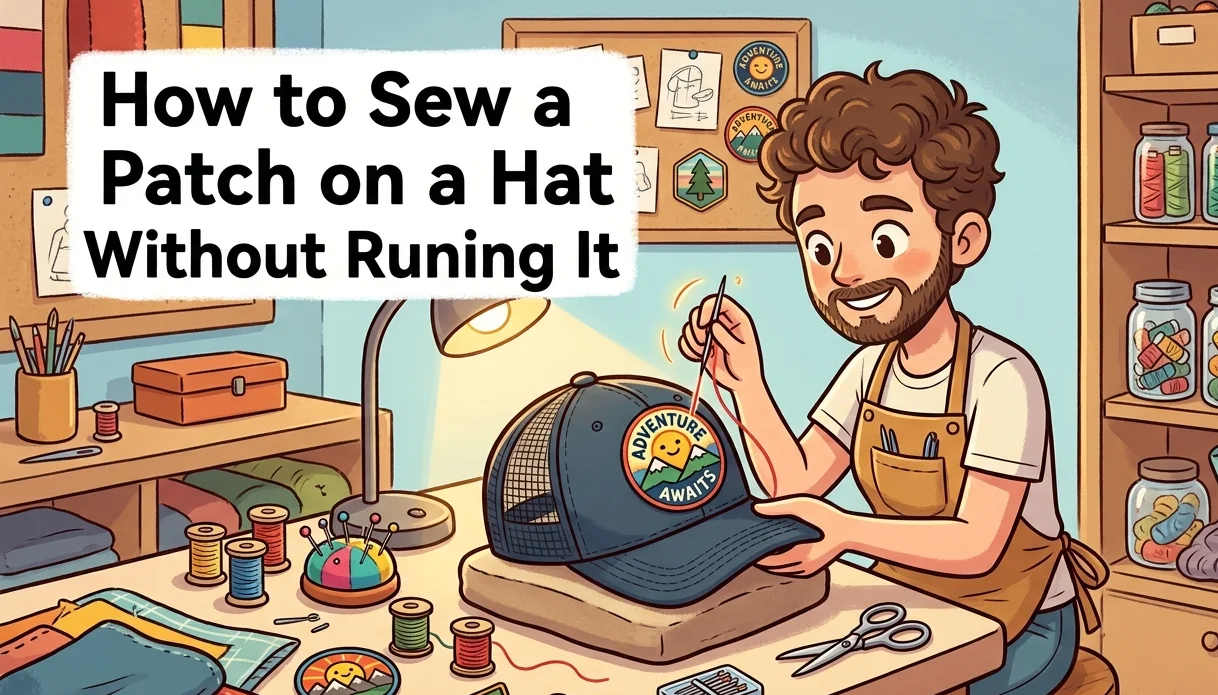
How to Sew a Patch on a Hat Without Ruining It
A patch you love. A hat you wear every day. Here is how to put one on the other without anything going wrong.
Let's Be Honest About Hats
Sewing a patch onto a bag or a jacket is pretty easy. A hat is a different story.
A hat is round. It curves. It has a brim. It sits differently on your head than it does on a table. And a lot of Australian hats are made from fabrics that will get damaged if you try to iron anything onto them.
That sounds complicated. It is not. Once you know three simple things, the whole job becomes easy.
Those three things are:
- Check the hat before you start.
- Glue the patch before you sew.
- Always check the placement while the hat is on your head, not while it is sitting on a table.
Everything else follows from those three things. This guide walks you through all of it in plain, simple steps.
Quick Answer
Put the hat on your head and pick where you want the patch to sit. Glue the patch in that spot and wait for the glue to dry. Thread a needle with 24 inches of thread that matches the colour of your patch edge. Turn the hat inside out. Push the needle from inside the hat through to the outside, through the patch edge, and pull the thread through. Keep stitching around the full edge of the patch. Tie a double knot inside the hat when you are done. Trim the thread. That is it.
First Thing (Check What Your Hat Is Made From)
This step takes about ten seconds and saves you from ruining a hat you like.
Find the little label sewn inside the hat near the brim. Read it.
These hats are totally fine to sew a patch on:
- Cotton cap
- Canvas bucket hat
- Drill cotton work hat
- Wool hat
- Cotton beanie
- Snapback cap
These hats can only be sewn on. Never iron them:
- Nylon sun hat
- Waterproof hiking cap
- Moisture-wicking sports cap
- Technical outdoor hat
- Polyester performance cap
Why does this matter?
Because patches sometimes come with a sticky iron-on backing. If you try to iron that onto a nylon or waterproof hat, the heat will melt or damage the fabric permanently. It cannot be fixed after it happens.
So always check the label first. If the hat is cotton or canvas, you have options. If it is nylon or waterproof, sew and skip any ironing completely.
What You Need
You probably already have most of this at home. Anything you do not have is easy to find at Spotlight or any craft shop.
- A needle. Size 10 is the right size for most hats.
- Thread. Pick a colour that matches the edge of your patch. About 24 inches is the right amount.
- Scissors. Just for trimming the thread at the end.
- A thimble. This goes on your middle finger. It protects your finger when you push the needle through thick hat fabric.
- Fabric glue. This holds the patch in place while you sew so it does not wiggle around.
- The hat and the patch. Obviously.
That is genuinely everything you need.
Step One. Put the Hat On Your Head.
Yes, really. Before you do anything else, put the hat on.
Hold the patch against the hat in different spots while you are wearing it. Look in a mirror. Try it high on the front panel. Try it a little lower. Try it slightly left or slightly right.
Here is the thing most people do not know. A hat looks completely different when it is on your head compared to when it is lying flat on a table. If you decide on placement while the hat is flat, the patch will almost always look wrong when you actually wear it. Too high. Too tilted. Off to one side.
So put the hat on. Find the spot that looks right while you are actually wearing it. Mark that spot lightly with a little piece of masking tape or a fabric pen dot. Take the hat off.
Now you know exactly where the patch is going.
Step Two (Glue the Patch Down)
Put a thin layer of fabric glue on the back of the patch. Not too much. Just enough to cover it evenly.
Press the patch firmly onto the spot you marked. Hold it flat and press for about 30 seconds.
Now put the hat down and do not touch it until the glue is completely dry. This usually takes about 10 to 15 minutes.
Here is why this matters. When you sew, you push a needle through the hat fabric dozens of times. Each push puts a tiny bit of pressure on the patch. Without glue holding it still, the patch slowly creeps away from where you put it. By the time you finish sewing, it has moved. The glue stops that from happening.
The glue is not what holds the patch on forever. The stitching does that. The glue keeps everything in the right place while you work.
Step Three. Thread the Needle.
Cut 24 inches of thread. That is about as long as your arm from shoulder to fingertip. This is the right amount to go all the way around the patch without running out in the middle.
Pick a thread colour that matches the edge of your patch. If the edge of your patch is dark navy, use dark navy thread. If it is black, use black. Matching thread blends into the patch border and becomes almost invisible from the outside of the hat.
Push the thread through the eye of the needle. If this is fiddly, wet the tip of the thread slightly and twist it to a thin point before pushing it through.
Tie a knot at the loose end. Tie it twice so it does not slip.
Put the thimble on the middle finger of your sewing hand.
Step Four (Turn the Hat Inside Out)
This is the secret that makes the whole thing look professional and clean.
Turn the hat inside out. The lining is now on the outside, and the outside fabric is on the inside.
By starting to sew from the inside of the hat, all your knots and thread ends stay hidden on the inside where nobody ever sees them. The outside of the hat will only show neat, even stitching running along the patch edge. No messy knots. No loose ends. Just clean work.
Step Five (Push the Needle Through and Start Sewing)
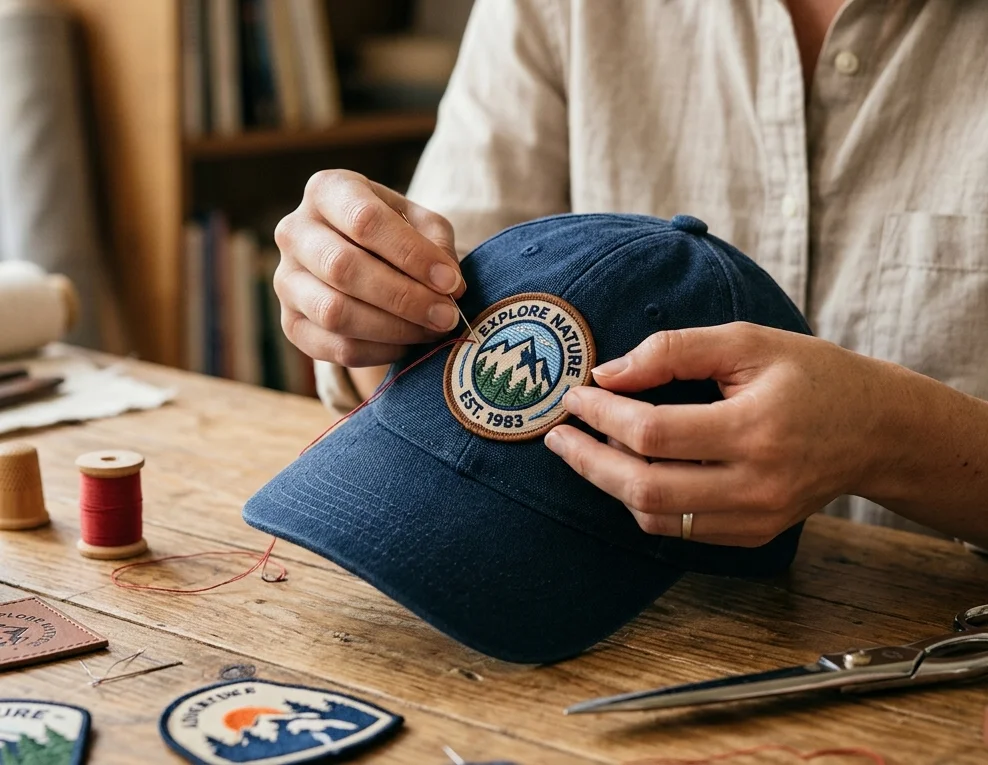
Hold the hat with one hand and the needle with your other hand. The thimble is on your middle finger, ready to help push.
Push the needle from the inside of the hat through the hat fabric and out through the edge of the patch at the same time. Pull the thread through slowly and gently until the knot catches against the inside of the hat.
Now push the needle back down through the patch edge and through the hat fabric. Pull the thread through to the inside again.
That is one stitch.
Keep doing this all the way around the full edge of the patch. In through the patch edge, out through the hat fabric, in through the hat fabric, out through the patch edge. Over and over, moving a tiny bit forward each time.
Keep each stitch about 3 to 5mm apart. Even spacing is what makes the finished result look neat.
Pull each stitch firmly but not super tight. If you pull too hard, the hat fabric will bunch up around the patch and look wrinkly. If you pull too loosely, the thread will look saggy between stitches. Just firm enough to sit flat is perfect.
Step Six (Tie Off and Finish)
When you have gone all the way around the patch and arrived back where you started, bring the needle and thread through to the inside of the hat one last time.
Tie a double knot as close to the hat fabric as you can get it. Tie it twice so it is really secure.
Cut the thread about half an inch from the knot. Not all the way to the knot. Leave a little tail so the knot cannot work its way back through the fabric over time.
Turn the hat right side out again.
Look at it.
The patch should be sitting flat and even with neat stitching running all the way around the edge. Nothing showing on the outside except the stitching itself, which blends into the patch border colour you matched your thread to.
What About Chenille Patches?
Chenille patches are the thick, fluffy patches that look like velvet. You see them on varsity jackets and premium caps. They feel soft and raised when you touch them.
These patches need two small changes to the method above.
- Use a denim needle instead of a size 10. Chenille patches are much thicker and denser than normal embroidered patches, and a standard needle will bend when it hits the base.
- Stitch through the flat base at the very edge of the patch, not through the fluffy part on top. The fluffy part is just decoration. The flat woven base underneath it is what your stitch needs to grip.
- Never iron a chenille patch. The heat flattens the fluffy pile flat, and it stays that way. Always sew chenille patches. Never iron them.
StitchKrafts Australia makes personalised chenille patches with a solid flat base that is easy to stitch through cleanly. If you are ordering chenille patches for a club in Brisbane, a school group in Sydney, or a personal project anywhere in Australia, the base is built specifically to make sewing easy even for complete beginners.
Which Hats Work Best for Patches?
- Cotton cap (the easiest one to start with. Great for beginners)
- Canvas bucket hat (flat side panels make this very easy to sew on)
- Drill cotton work hat (a bit thicker, so make sure you use the thimble)
- Nylon sun hat (sew only. Never iron. Go slowly because the fabric is lighter)
- Waterproof hiking cap (sew only. Never iron. The coating gets permanently damaged by heat)
- Cotton beanie (works well but the knit stretches a little as you sew. Go slow and do not pull tight)
- Akubra (use a small sharp needle and short stitches. Test in a hidden spot inside the hat first)
Why a Good Patch Makes Everything Easier
A cheap patch has a wobbly edge that is hard to sew along neatly. The base does not lie flat. The colours fade fast in the Australian sun.
A well-made patch has a clean, even edge that your needle follows naturally all the way around. The base lies completely flat against the hat. The thread colours stay bright through washing and sun.
StitchKrafts Australia makes affordable embroidery patches and personalised chenille patches with clean merrowed borders built for easy hand stitching. Every order comes with a real physical sample of your patch before the full order is made. You actually hold it in your hand and check it before saying yes to the full quantity.
Frequently Asked Questions
Can you sew a patch on an Akubra?
Yes. Use a small sharp needle, size 12 or 14, and keep your stitches short. Test the needle in a hidden spot inside the hat first to make sure it does not leave marks on the felt surface.
Why does my patch look crooked after sewing?
Because you checked the placement with the hat lying flat instead of on your head. A hat curves completely differently when worn. Always decide placement with the hat on your head and check it in a mirror.
Do you really need fabric glue?
Yes, if you want the patch to stay in the right spot while you sew. Without it, the patch shifts a little with each stitch and the final position drifts from where you started.
Can you iron a patch onto a nylon hat?
No. Heat damages nylon permanently. Sewing is the only method for nylon, waterproof, and technical fabric hats.
How long does it take?
Between 15 and 25 minutes for most patches once the glue is dry. Chenille patches take a little longer because the base is thicker to stitch through.
Where can I order patches in Australia?
StitchKrafts Australia makes custom embroidered patches and personalised chenille patches for buyers all across Australia. You get a real physical sample to approve before the full order is produced.