

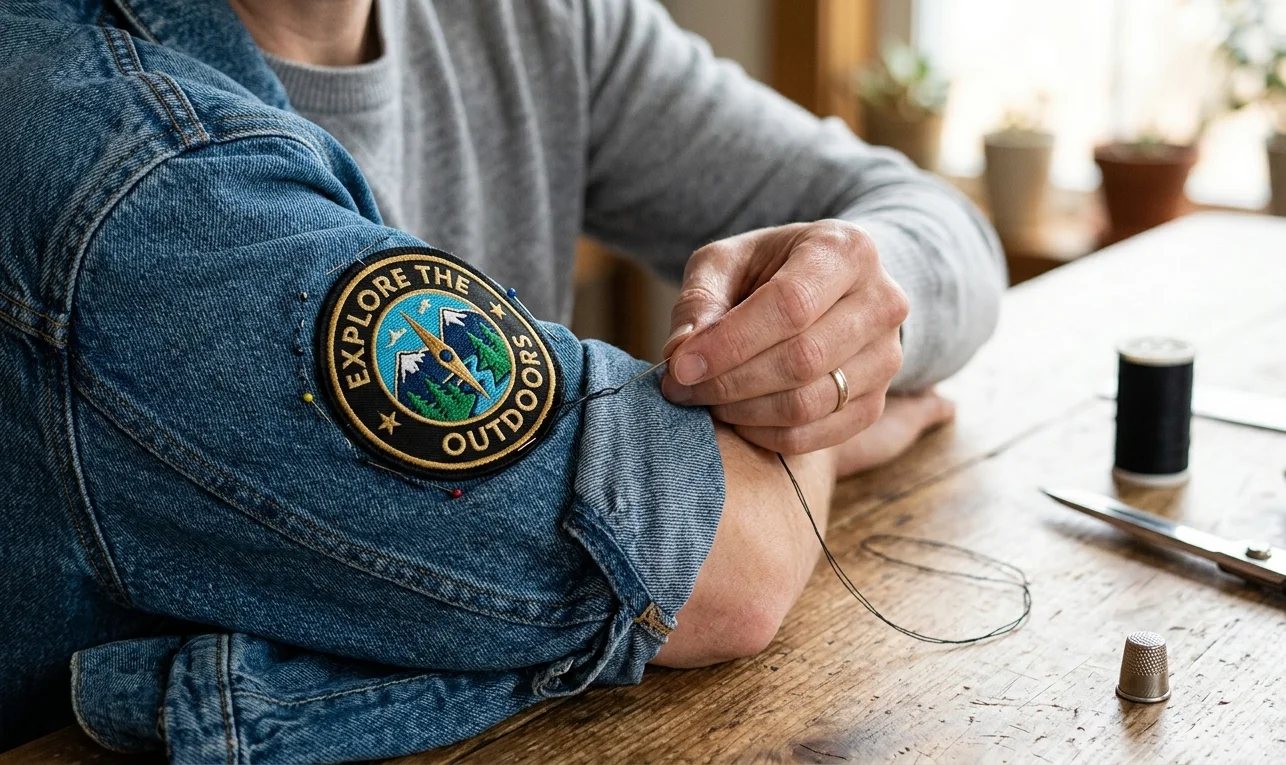
Sewing a Patch onto a Sleeve: The Right Way to Do It
No wobbling. No puckering. No sleeve accidentally stitched shut. Just a patch that sits straight and stays there.
Before Anything Else: Read This First
Sleeves are the trickiest place on any garment to attach a patch. Not because the sewing is difficult. The sewing is straightforward.
The tricky part is that a sleeve is a tube of fabric wrapped around a moving arm. What looks perfectly positioned when the sleeve is lying flat on your kitchen table can look completely off once your arm is inside and the fabric has curved naturally around it.
Every person who has ever sewn a patch onto a sleeve and been disappointed with the result made the same mistake. They placed the patch on flat fabric and sewed it without ever checking how it actually looks when worn.
This guide fixes that from the start. It also covers how to stop iron-on patches from working loose on a sleeve, which fabric types need hand sewing rather than a machine, and the small habits that separate a tidy finish from a messy one.
No experience needed. No special equipment needed. Just a needle, some thread, and this guide.
Quick Answer
Wash and iron the sleeve first. Pin the patch in place and put the shirt on to check the position with your arm inside the sleeve. Secure the patch with ironing tape. Slide one hand inside the sleeve, then sew around the full edge of the patch through the outer layer of fabric only. Tie off the thread neatly on the inside and trim.
Done.
What You Need
All of this is available at Hobbycraft, John Lewis haberdashery, or any good craft shop.
| Item | |
| Hand sewing needle | Stitching the patch onto the sleeve |
| Thread (around 18 to 20 inches) | Enough to go all the way around most patches |
| Safety pin | Holding the patch in position before sewing |
| Adhesive ironing tape | A cleaner alternative to a safety pin while sewing |
| Small scissors | Trimming the thread when finished |
| Iron and cotton pressing cloth | Flattening the sleeve and warming the fabric |
| Needle threading tool | Optional but genuinely helpful |
You do not need a sewing machine. Hand sewing is the better method on most jersey and stretchy fabrics and is completely sufficient for a neat, strong result.
Step 1: Wash the Garment First
Do not skip this. Wash the shirt or jersey before you start, even if it looks clean.
New garments often carry a factory finish or fabric conditioner residue on the surface. This creates a thin barrier between the fabric and anything you are trying to attach to it. On a sleeve that will flex and stretch regularly, starting with a clean fabric surface makes a real difference to how well the patch grips and how long it stays put.
Wash it, dry it completely, and then begin.
Step 2: Iron the Sleeve Flat
Lay the sleeve flat on an ironing board. Place a cotton pressing cloth between the iron and the fabric, particularly if the garment is a polyester blend, a moisture-wicking sports fabric, or any kind of stretchy knit. Press the sleeve smooth.
You are creating a clean, flat working surface. Sewing a patch onto a wrinkled sleeve means pressing in those wrinkles permanently once the patch holds them in place.
Step 3: Work Out the Placement
Hold the patch against the sleeve and move it around before deciding on a final position.
If this is a sports jersey, club kit, or any kind of uniform, check whether your team, club, or organisation has a rule about where sleeve patches should sit. Many clubs require a patch positioned a specific distance below the shoulder seam or centred on a particular panel. Check this before placing anything.
For personal projects, go with what looks balanced and intentional to your eye.
Step 4: Try It On Before Sewing (This Step Matters)
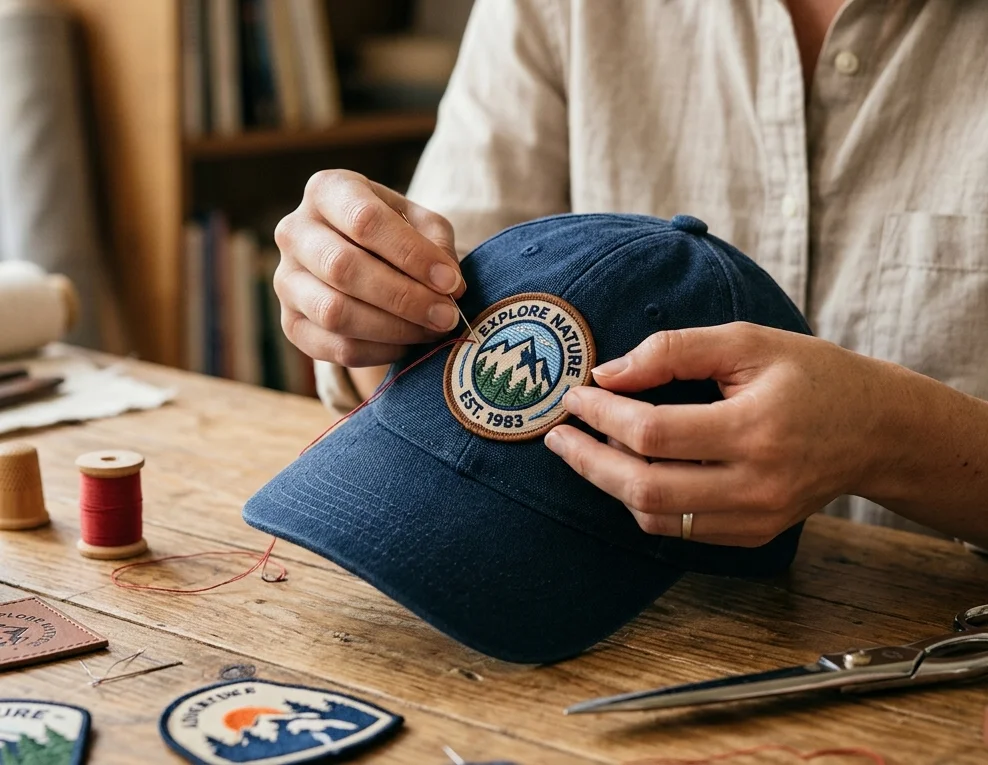
Once you have a position in mind, pin the patch there with a safety pin through the centre.
Then put the shirt on.
Look at the patch:
- With your arm hanging naturally at your side
- With your arm bent
- From the front
- From the side if you can
A sleeve curves around the arm and the fabric settles differently when it is being worn compared to when it is lying flat. A patch that looks perfectly centred and straight on the table can look tilted or too high once your arm fills the fabric. You will only know by wearing it.
If the position looks right, take the shirt off and continue. If something looks off, adjust the pin and try again.
This check costs two minutes and saves a lot of frustration later.
Step 5: Secure the Patch in Place
Now hold the patch firmly in position for sewing.
A safety pin through the centre works, but it sits in the way of your needle as you stitch around the edge.
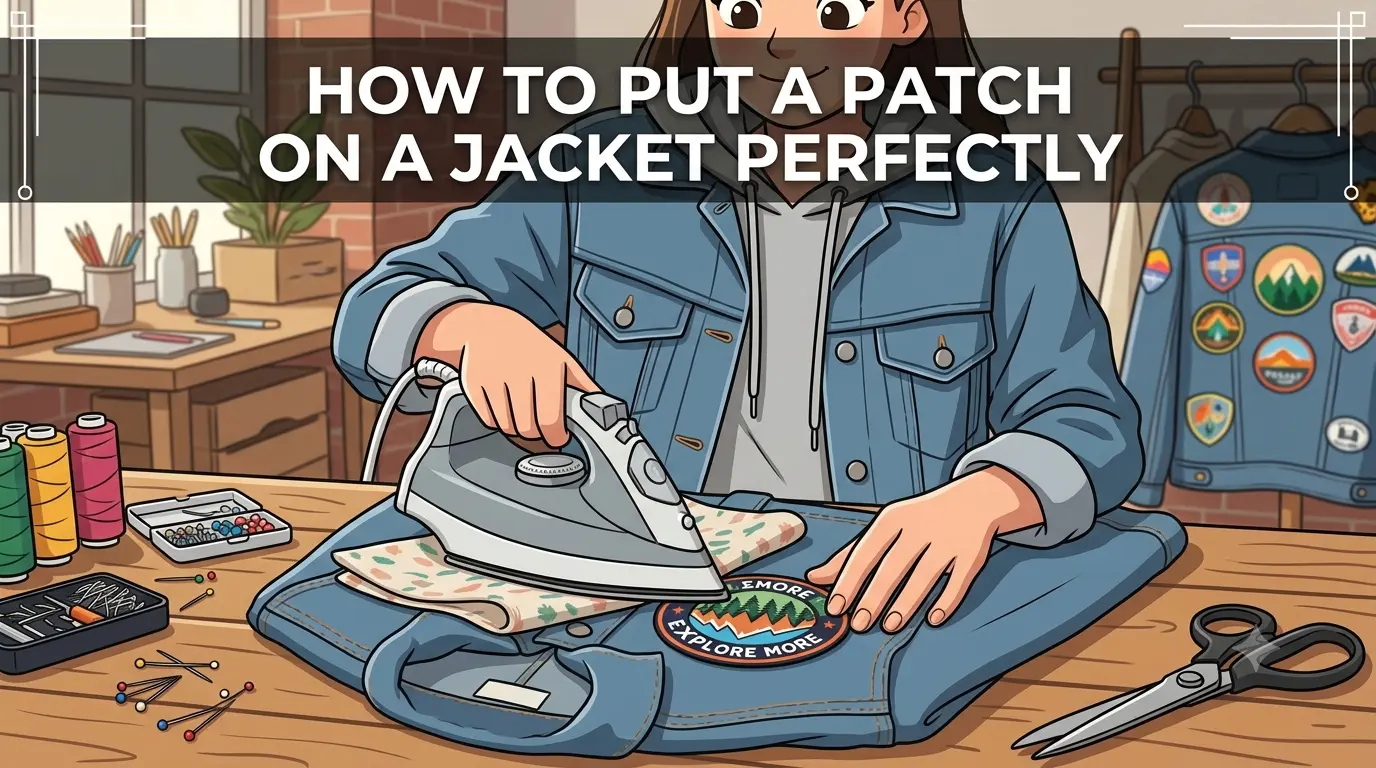
A neater option is adhesive ironing tape:
- Cut small strips and place them just underneath the edges of the patch.
- Lay the sleeve flat.
- Cover the patch with the pressing cloth.
- Press with a warm iron for a few seconds.
The tape tacks the patch lightly to the fabric without making it permanent.
Benefits:
- No pins in the way
- No shifting while you sew
If your patch has iron-on backing, this pressing step will also start to warm the adhesive, which gives the patch an initial bond before you sew over it.
Iron then sew is always the strongest combination on a sleeve.
Step 6: Slide Your Hand Inside the Sleeve
Before you pick up the needle, do this.
Open the sleeve and slide one hand inside so it sits directly behind the patch.
This step matters more on a sleeve than anywhere else. Without your hand inside, both layers of the sleeve fabric sit together. If your needle catches both layers while you stitch, you sew the sleeve shut. It is the most common sleeve patching mistake and it is completely avoidable.
With your hand inside, you can:
- Feel exactly where the needle is going
- Keep the outer layer separated from the inner layer
- Control each stitch cleanly
Keep your hand there throughout the sewing.
Step 7: Thread the Needle
Cut around 18 to 20 inches of thread.
If you have a threading tool, use it. If not, wet and twist the very tip of the thread to stiffen it slightly before guiding it through the eye of the needle.
Tie a knot at one end.
You are ready to start.
Step 8: Place the First Stitch
Begin from the inside of the sleeve so the knot sits hidden on the inner surface of the fabric.
- Push the needle upward from inside the sleeve.
- Go through the outer layer of fabric.
- Bring it out through the very edge of the patch.
- Pull the thread all the way through until the knot sits snug against the inside of the sleeve.
This is your starting anchor. All the stitches that follow build from here.
Step 9: Sew Around the Full Edge
Continue stitching around the entire border of the patch.
The motion repeats the same way for every stitch:
- Push the needle down through the sleeve fabric right next to the patch edge.
- Pull the thread through to the inside.
- Push the needle back up through the sleeve fabric and out through the patch edge again.
- Pull firmly but not tightly after each stitch.
Stitch Spacing
Keep the stitches roughly 3 to 5 millimetres apart.
Consistent spacing gives a clean, intentional finish. Rushing and spacing unevenly shows in the final result.
Corners and Curved Edges
Take your time going around corners and curved edges.
Short stitches at corners keep the patch lying flat. Longer stitches at corners can cause the patch to lift slightly at the point where two edges meet.
Work all the way around until you arrive back at your starting stitch.
Step 10: Finish and Trim
For the final stitch, bring the thread through to the inside of the sleeve.
- Tie a secure knot close to the fabric.
- Tie it a second time for safety.
- Trim the thread to about half an inch from the knot so it cannot unravel.
Remove any remaining pins or tape.
Turn the sleeve to face outward and look at the patch.
The stitching should run evenly around the full edge. The patch should lie completely flat with no gathering or puckering in the sleeve fabric around it.
If one section is slightly uneven, do not worry. Small variations in hand stitching are normal and give the patch a hand-finished quality that machine stitching does not replicate.
Using a Sewing Machine on a Sleeve
A machine works faster than hand stitching, but it carries a real risk on a sleeve. If the sleeve is not set up correctly, both fabric layers sit together under the presser foot and the machine sews them shut.
To Avoid This
- Slide the sleeve over the machine arm or the free arm of the sewing table.
- Position the outer layer under the needle.
- Allow the inner layer to hang free below.
- Check that only one layer of fabric is under the presser foot before you start.
Sewing Process
- Set the machine to a slow, straight stitch.
- Lower the presser foot onto the patch edge.
- Keep your hands away from the needle.
- Sew along the patch border.
- Rotate the patch gradually on curved edges.
- Stop to pivot at each corner on square or rectangular patches.
- Overlap the first few stitches when you complete the circuit.
- Use the reverse function to lock the seam.
- Cut the thread.
Hand sewing remains the better choice for stretchy knit jerseys, football shirts, and rugby tops. The machine feed can cause these fabrics to pucker and distort unevenly, which leads to a patch that looks gathered or uneven even when the stitching itself is fine.
Use the machine on heavier, more stable woven fabrics and thick cotton hoodies where the fabric holds its shape reliably under the presser foot.
How to Stop Iron-On Patches Coming Off a Sleeve
Iron-on adhesive works well on flat panels. On a sleeve it faces a harder job.
Every arm movement flexes the fabric. Every wash softens the adhesive slightly. Over time, particularly on stretchy fabrics or synthetic sports materials, iron-on alone rarely holds as long as people expect.
Here is what actually keeps a sleeve patch in place long term.
1. Sew the Border After Ironing
Iron the patch first to position it exactly where you want it.
Then sew around the edge.
This gives you:
- The precision of iron-on placement
- The permanence of stitching
For any patch on a sleeved garment worn and washed regularly, this combination is the only method worth using.
2. Know Your Fabric Before Ironing
Iron-on adhesive grips:
- Cotton
- Cotton blend fabrics
It does not grip:
- Polyester performance fabrics
- Moisture-wicking sports materials
- Nylon
If the jersey is made from synthetic fabric, go straight to sewing without ironing at all.
3. Wait Before Washing
After ironing a patch, leave the garment unwashed for at least 24 hours.
The adhesive continues to cure and harden after pressing. Washing too soon, before the bond has fully set, causes the edges to lift after the first cycle.
This is one of the most common reasons for early patch failure on sleeve garments.
4. Use a Quality Patch
Cheap patches tend to have thin adhesive applied unevenly across the backing. The centre bonds reasonably but the edges, which take the most stress on a moving sleeve, lift first.
Well-made custom embroidered patches from StitchKrafts USA carry consistent full-coverage adhesive across the complete reverse side. The bond holds from edge to edge, which gives the patch a stronger foundation before stitching even begins.
Which Fabric Needs Which Method
| Fabric Type | ||
| Woven cotton jersey | Hand or machine | Stable and easy to work with for both methods |
| Stretchy knit jersey | Hand sewing | Shifts too much under machine for a clean result |
| Football or rugby shirt | Hand sewing | Usually synthetic blend, skip ironing entirely |
| Thick cotton hoodie | Hand or machine | Heavy enough to handle either method well |
| Polyester sportswear | Hand sewing, no iron | Synthetic fabric, adhesive will not grip reliably |
| Moisture-wicking fabric | Hand sewing only | Always sew. Never iron on technical fabrics |
The Mistakes Most People Make
Placing the Patch Without Trying the Shirt On
The most common mistake and the one with the most visible result.
Always check with your arm inside the sleeve before sewing anything permanently.
Not Putting a Hand Inside the Sleeve While Sewing
Without your hand separating the layers, you risk stitching the sleeve shut.
Keep your hand inside throughout.
Pulling Each Stitch Too Tight
The sleeve fabric bunches and puckers around the patch when you overtighten.
- Firm and flat is correct
- Tight and gathered is wrong
Using a Machine on Stretchy Fabric
Knit jerseys and stretchy fabrics move under the machine's feed and come out puckered.
Hand sew these fabrics.
Ironing Synthetic Fabric
Check the care label before applying any heat to a sleeve.
Polyester and nylon can:
- Melt
- Bubble
- Lose their surface texture
Under a hot iron.
Washing Before the Adhesive Has Cured
Give iron-on patches at least 24 hours before the first wash.
Frequently Asked Questions
Why Does the Patch Look Crooked After Sewing?
Because it was placed and sewn with the sleeve lying flat.
A sleeve changes shape when worn. The fabric curves around the arm in a way that flat placement does not predict.
Always try the shirt on with the patch pinned in place before sewing.
This one step prevents almost all placement problems.
Can I Sew a Patch on a Sleeve Without Any Experience?
Yes.
The stitching involved is a simple in-and-out motion repeated around the border of the patch.
If you can push a needle through fabric and pull it back, you can do this.
Start slowly, keep the stitches even, and do not pull too tight.
How Do I Make Sure I Do Not Sew the Sleeve Shut?
Slide one hand inside the sleeve before you start sewing and keep it there.
Your hand separates the two fabric layers and lets you feel exactly where the needle is going.
For machine sewing, slide the sleeve over the machine arm so only the outer layer is under the needle.
My Iron-On Patch Keeps Coming Off the Sleeve. What Am I Doing Wrong?
The most likely cause is that iron-on alone is not holding against the constant movement of sleeve fabric.
Sew around the border after ironing.
Also:
- Check that the fabric is cotton or cotton blend rather than synthetic
- Give the patch 24 hours before washing
- Make sure the iron was at full heat with no steam when you applied it
How Long Does Hand Sewing a Sleeve Patch Take?
Between 15 and 25 minutes for a standard patch.
The preparation, including washing, ironing, and checking placement, often takes as long as the sewing itself.
Do not rush the placement check.
Does It Matter What Patches I Use?
Yes.
A patch with consistent, full-coverage adhesive backing bonds more reliably across the whole surface from the start.
StitchKrafts UK makes custom embroidered patches with even backing quality across the entire reverse side, which means the patch starts with a solid bond before any stitching is added.
The Thing That Makes Every Sleeve Job Easier
Put your hand inside the sleeve before you pick up the needle. Keep it there the whole time you sew.
That one habit separates a sleeve patch done correctly from the two most common problems:
- A crooked result from not feeling where the needle goes.
- A stitched-shut sleeve from not separating the fabric layers.
Everything else in this guide improves the finish.
This one thing makes the whole job possible.